Mark Zawila on HDR Light Studio 8

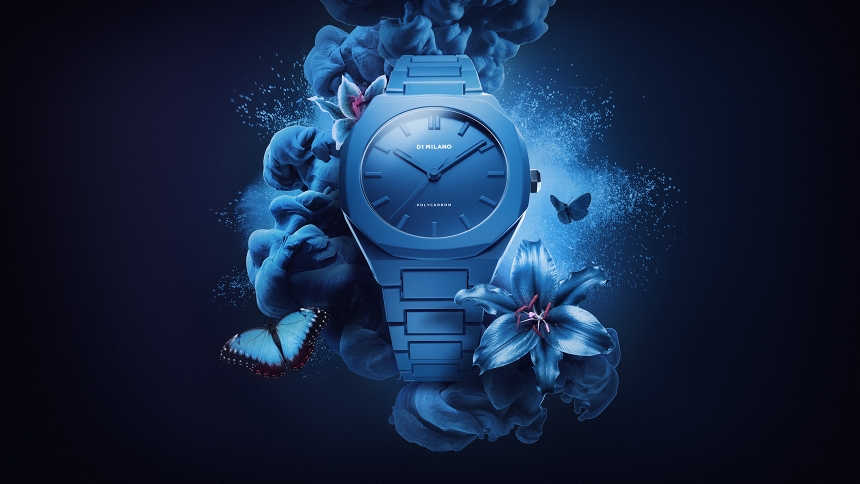
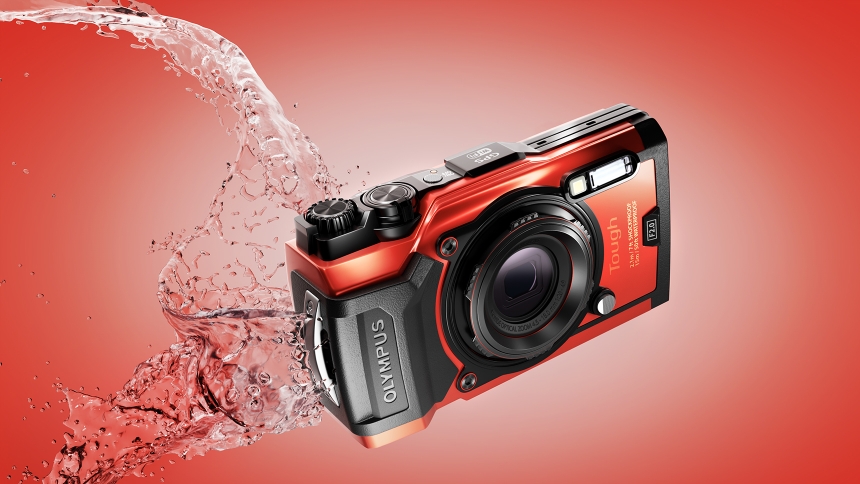
Founder of Fabric Studios in London, Mark Zawila creates striking images for large and small companies, ad agencies and designers. He combines 3D, graphic illustration and photography to make imagery that helps sell products and brands. He has created work for companies such as Chivas Regal, Johnnie Walker, Delta Airlines, Sony, Sky, Miller, St.Stefanus, Yoo, Alison at Home and many more.
Mark was invited to beta test HDR Light Studio 8. He uses Cinema 4D with Redshift and Arnold render. At the end of his beta testing, we asked Mark some questions about his experience with HDR Light Studio.

How does lighting with HDR Light Studio 8 compare to lighting using native lights in your 3D software?
Coming from a product photography background and being used to having a range of lights and modifiers to hand, I always found it frustrating trying to achieve similar lighting results using the lights available in 3D software. When lighting a watch, car, or jewelry, for example, 3D lights always looked flat and lacked realism, no matter how physically accurate the materials were.
Using HDR Light Studio makes it easy to achieve accurate, real-world lighting that is fully customizable by utilizing the realism and accuracy of HDR image-based lighting, with an incredibly easy-to-use UI.
Additionally, when trying to light highly detailed products that require complex lighting rigs, moving around 3D lights is a 'clumsy' and time-consuming process. One of the most exciting features of HDR Light Studio is 'LightPaint'. It's just a matter of clicking and dragging on the area of the object that you want to illuminate to precisely position the light. This actually makes lighting a joy and a very instinctive and creative process.
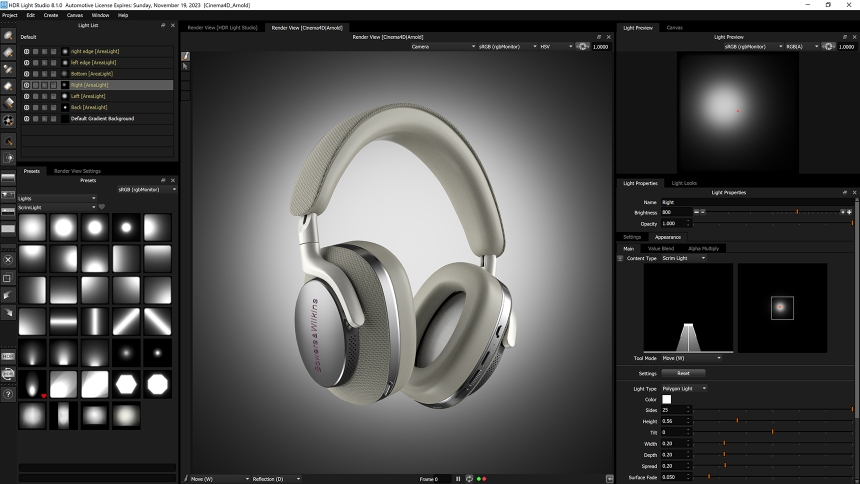
One of my favorite things about HDR Light Studio is the option to turn any light into an 'area light'. The light then acts like a standard 3D light with an HDR image mapped onto it, which works independently of the main HDRI map and can be positioned 'up close' to the subject using the smart dolly slider.

What advantages does the Scrim Light give you, and how do you feel about the lighting results it’s giving you?
When lighting highly reflective materials such as chrome, glass, aluminum, etc. it is essential to control every aspect of how the light interacts with the subject, as the surface basically mirrors the light.
Trying to replicate this in 3D can be very difficult and the results can often look 'fake' and can make a subject look flat. This is because real studio scrim lighting creates subtle gradients where 'diffuse' light falls off naturally from surfaces. 'Fall off' can be adjusted by angling the diffusion panel or moving the light closer or further away from it. The scrim light in HDR Light Studio works exactly like a real-world scrim and allows you to create fully controllable and highly realistic lighting that wouldn't otherwise be achievable with a standard soft-box.

How easy is it to use the Scrim Light?
One of the best things about the Scrim Light is how easy it is to use, like everything in HDR Light Studio it's designed for artists, so it's very intuitive and user-friendly.
What I particularly like is that there are many ways to make light adjustments within the UI, depending on your preferred workflow. This is very useful as when I'm using my laptop, I prefer using the sliders but when I'm on my main machine, I use a graphics tablet, so 'clicking and dragging' is then a more fluid workflow.
The Scrim Light is also very versatile when used in conjunction with area lights. I can create almost any lighting effect I need just using the scrim light which really simplifies and speeds up the lighting process, meaning I can focus all my attention on creating the exact lighting I want.

How would you achieve a similar effect to the scrim light not using HDR Light Studio? How does that compare to using HDR Light Studio?
The only way to get similar results would be to use HDRI images globally or mapped onto native 3D area lights.
Traditionally, if you choose to light a scene with a global HDRI image you would either need to create your own, which for most is not feasible due to cost, learning curve, and time. Or purchase a third party HDRI map, which is of course is limited to what's available and the quality of the HDRI. Plus you cannot edit the position of the lights (other than rotate the whole map), this is obviously limiting and means re-using the same maps over and over again for multiple projects.
If you use HDR textures on area lights, it can be very difficult and time–consuming positioning the area lights when designing complex light set-ups.
HDR Light Studio solves all of these problems which is obviously fantastic news for CGI studios that specialize in product rendering.

We would like to thank Mark for being a fantastic beta tester for HDR Light Studio 8 and giving us this feedback. If you would like to see more of Mark's work, please visit his website at: www.fabricstudios.co.uk
This entry was posted in Customer Stories.


