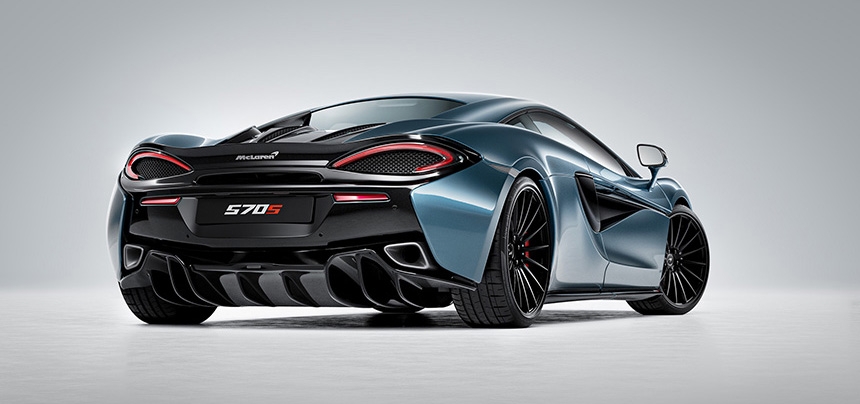
Mclaren 570 - Blender and HDR Light Studio

Steven Hellemans is a professional 3D artist. At home, he uses Blender for his personal work, and just produced this stunning set of images of the Mclaren 570 lit with HDR Light Studio. He did all the data prep, texturing, lighting, rendering and final post-production for these images.
We spoke to Steven Hellemans to find out how HDR Light Studio helped him light his latest beautiful set of automotive 3D renders in Blender.
What are the advantages of using HDR Light Studio with Blender Steven?
Before the HDR Light Studio connection for Blender existed, I had to create light planes and assign gradient maps as an alpha to their emissive materials in order to control the shape of the light. The overall lighting process, especially for a highly reflective products such as vehicles, was very time consuming.
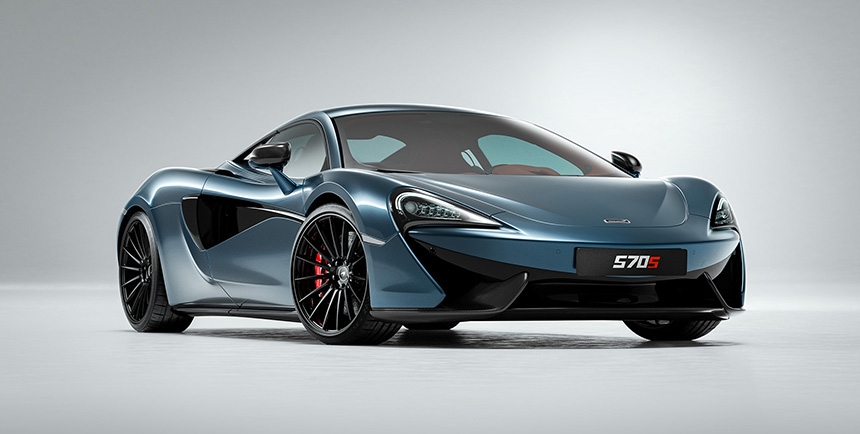
Not only did I have to spend a lot of time figuring out the correct placement of the light plane in 3D space in order to get the light on the shape that I wanted. I then also had to fiddle around with the size of the light plane and the attributes of the emissive materials. I could end up with 10 or more different emissive materials because each lightplane needed a different intensity, or different gradient. All of which was no fun because it slowed down the creative aspect. It was a slow approach that required a lot of patience. Furthermore placing very fine detail lights was almost impossible without spending a gigantic amount of time. So not only did it hamper the quality of the project it also increased the need for post-production.
HDR Light Studio is really a gamechanger for all of this.
It’s a faster, more intuitive workflow that really supports the creative process and entices the user to experiment more. With just a click of a button the 3D scene is loaded into HDR Light Studio, and then I can start creating my lights as I desire. Choosing the desired LightPaint mode, Illumination, Reflection or Rim, automatically places the light in the correct 3D space for the result that I want. No longer is it necessary to guess where the light plane should be placed in order to get that specific reflection, no, with HDR Light Studio I just click on the shape of my 3D model and that is where the light will appear.
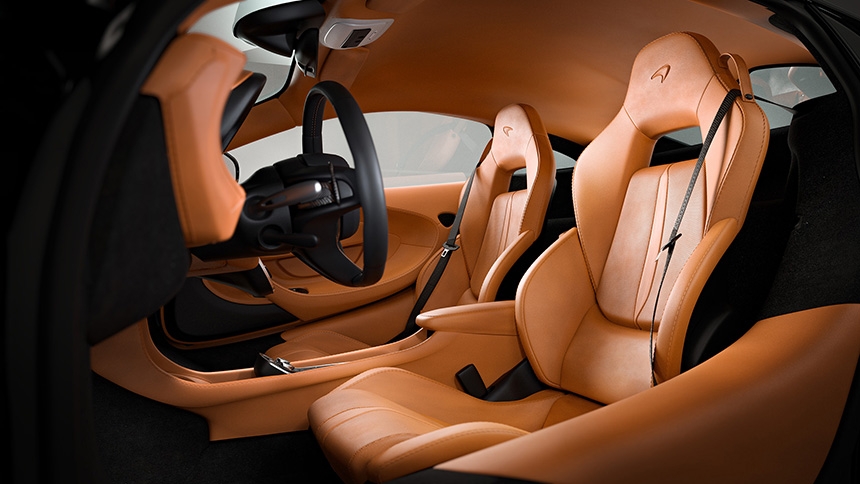
And then there are a lot of light parameters to tweak that help to truly create the quality of light that I envisioned for my project. With minor effort, I can make fast adjustments and create soft lights, hard lights, control the light falloff and many more.
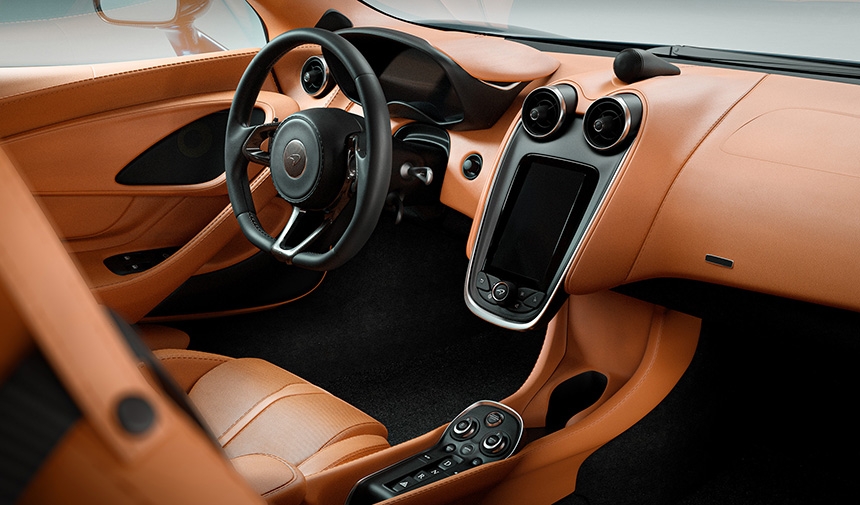
The best of it all is that using HDR Light Studio leads to more experimentation. I can quickly duplicate a light, isolate it and try out some different parameters to see the result. It’s also very easy to zoom in on the 3D model to really place those specific detail lights and bring the quality of the project to the next level. It’s a lot easier and most importantly faster to shape the light where and how you want it. HDR Light Studio helps to push the lighting in 3D to a higher quality than before, reducing the need for a lot of post-production later on.
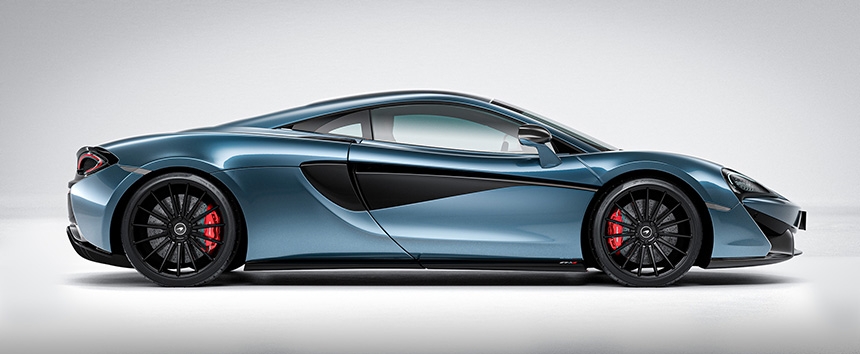
You can see more of Steven's work here: www.artstation.com/stevenhellemans
Find out more about how to use HDR Light Studio with Blender here: www.lightmap.co.uk/hdrlightstudio/connections/blender
Learn more about Car Studio Lighting for CGI here:
https://www.lightmap.co.uk/blog/lighting-for-automotive-rendering/

