By Mark Segasby
Light Painting using a Promotional LED Torch Pen
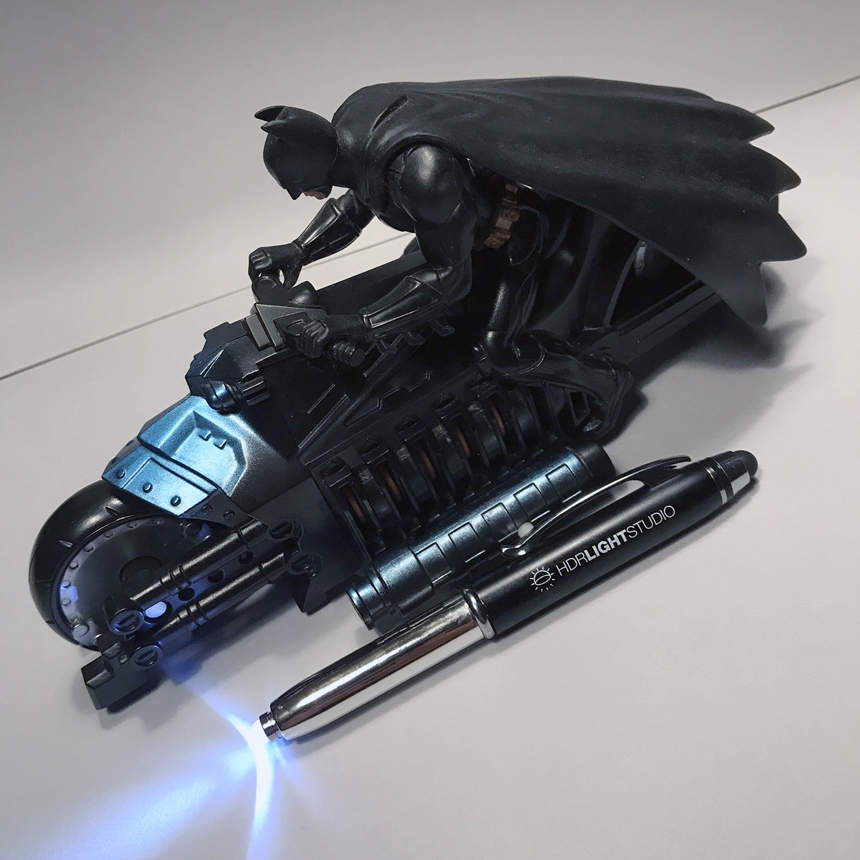
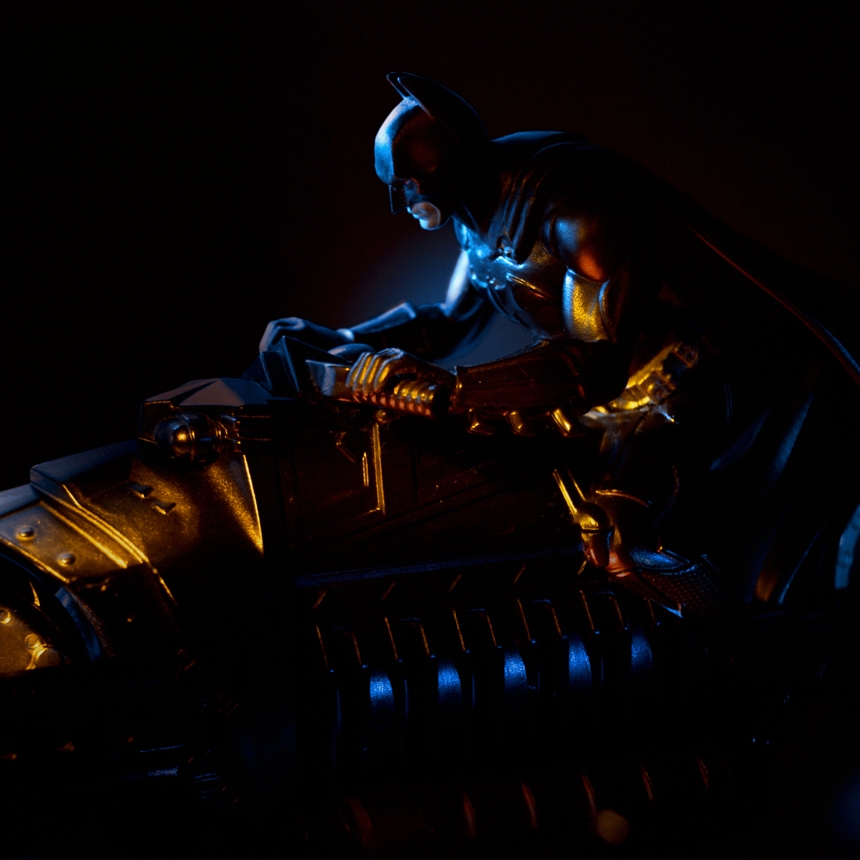
Some may see our LED torch pens as a cheap promotional gift to give away at trade shows. However, this project shows that just like HDR Light Studio, these pens are an awesome creative lighting tool.
I've never done 'light painting' in real-world photography before and wondered what kind of results we could get using one of the LED torch pens as a light source. I dug out one of my son's old toys and decided to give it a try.
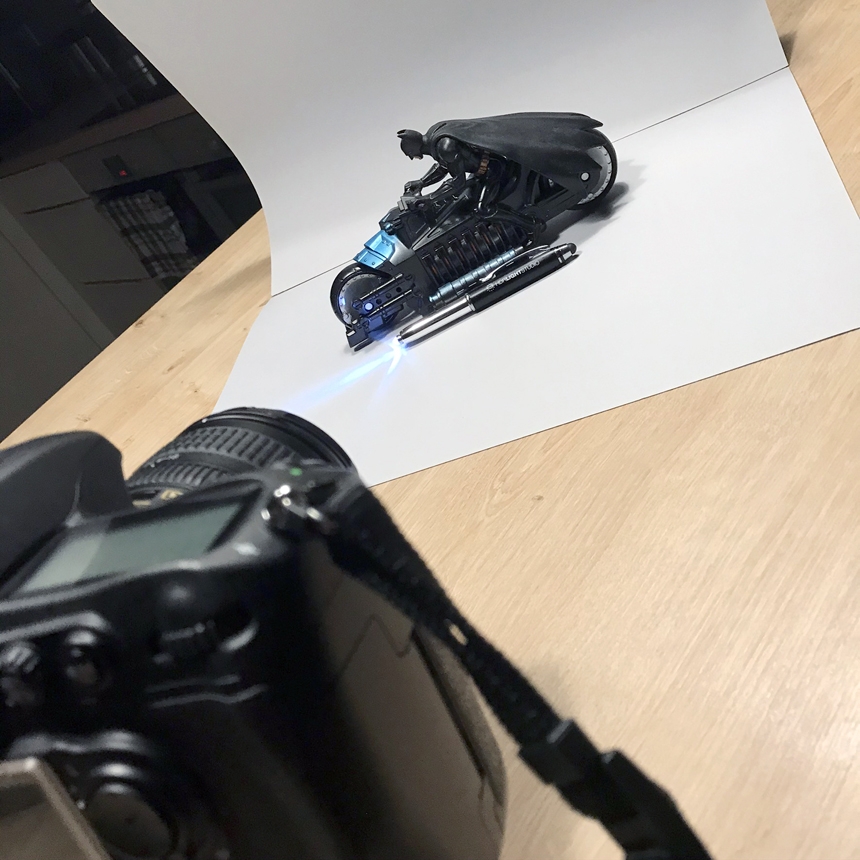
I had to wait until night time when it was dark to take the shots. I used a couple of pieces of grey card as a basic scoop as my background. I set up my DSLR on a mini tripod because long exposure times were needed so that the pen torch could be moved around during the shot, therefore the camera needed to be kept perfectly still. Plus, I needed my hands to press the shutter and move the light around the toy. In the end, a 2 seconds exposure time gave me a decent result.
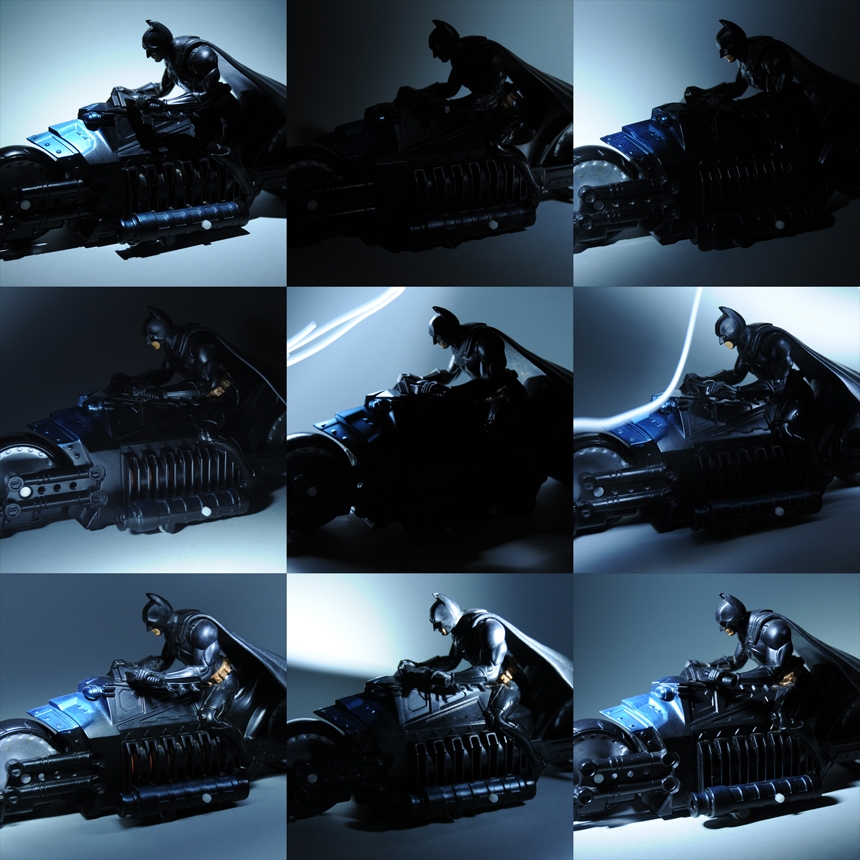
I've seen a few tutorial videos about lightpainting cars. So at first, I made sweeping gestures with the pen light over the toy. But because the toy wasn't a shiny car, these actually didn't work that great. I got a better result by pointing the light towards specific areas of the toy, to create some nice illumination and highlights in places where I felt they would look good. I took a lot of shots making sure I had more than enough options to play with when compositing these together.
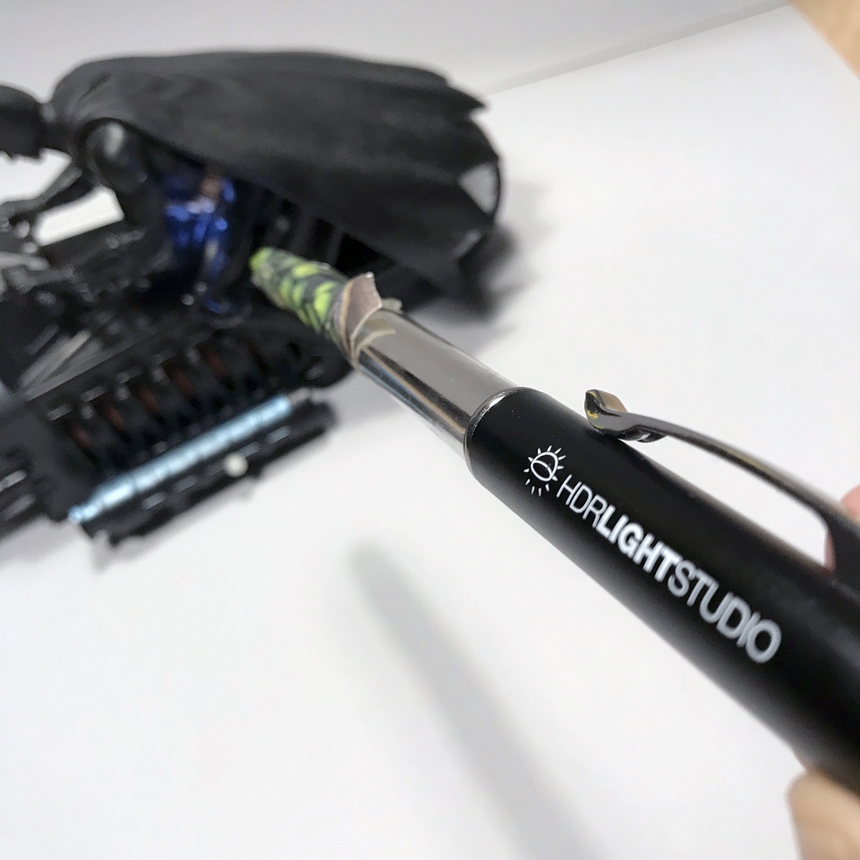
I also decided to make a little cardboard snoot, a tube basically, to put on the end of the pen, so that the light was focused into a beam. This enabled me to paint some light in more specific areas. It actually worked really well. I was particularly pleased with lighting around Batman's face.
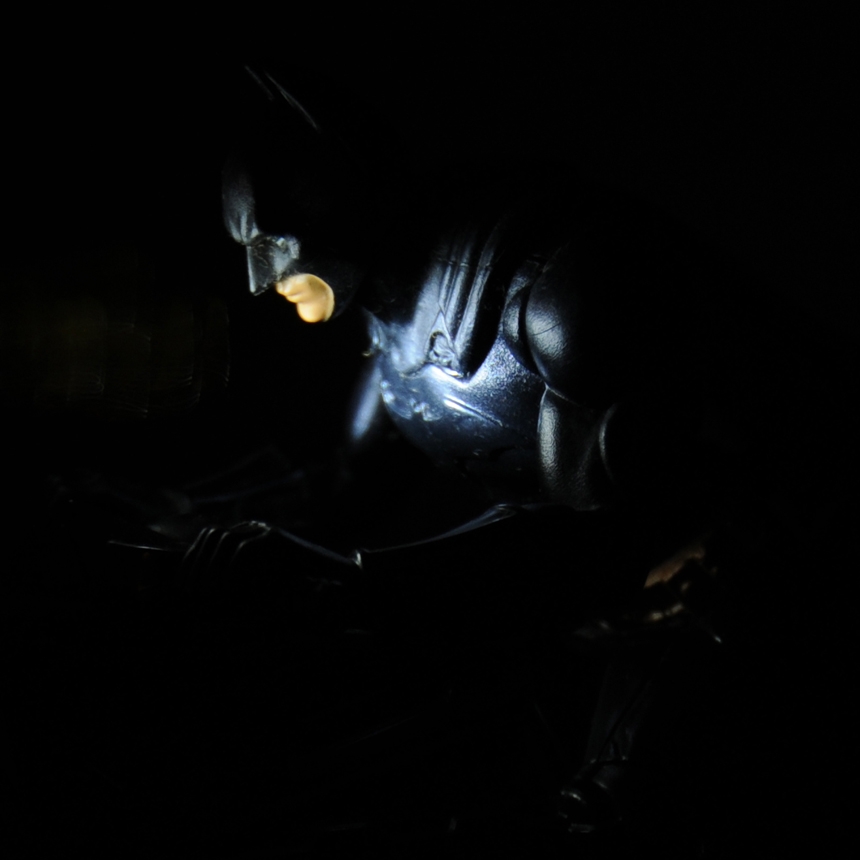
Once I had finished, I used photoshop to composite all the layers together using blend mode Screen, which basically adds the pixels together. It is very much a case of testing out each light layer and picking which shots produce a nice effect, auditioning them one by one and deciding which combinations work well together. Some layers produced great effects in some regions, but unwanted light in others, in these cases you simply erase with a soft brush in Photoshop the unwanted lighting effects. I used a shot lit from above to create the main shadow under the toy and drew around the toy and cut out that background shot and placed it in front of the rest of the layers. So that I had a nice clean background. (I could have done a better job of the cutting out, there's a bit of fringing I'm not happy with)
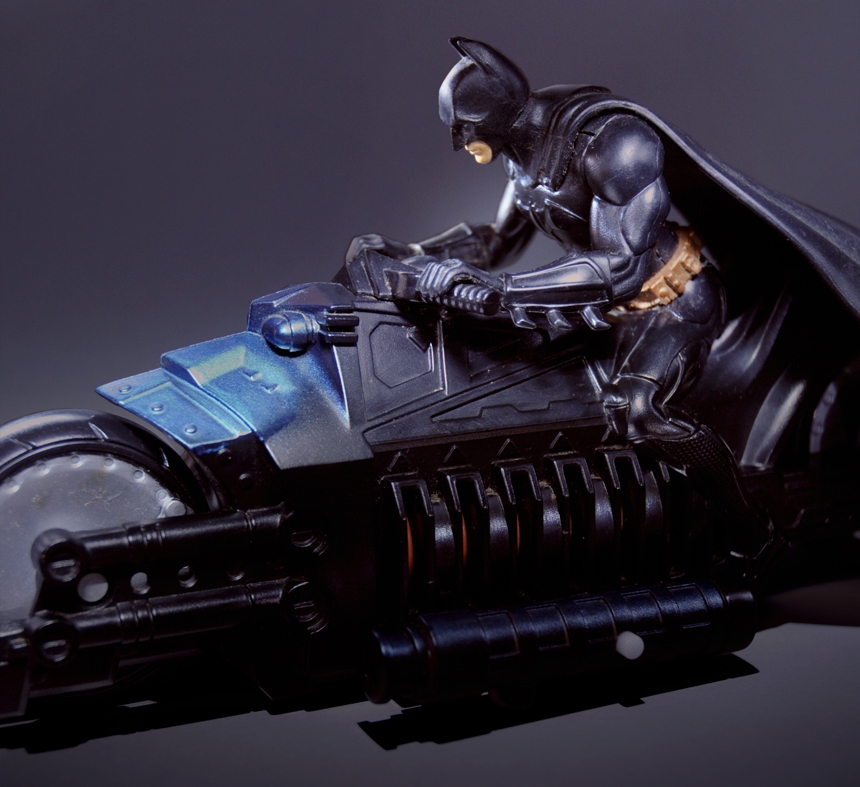
I really liked the end result but decided to take the image a bit further and to colourize some of the light layers with yellow and blue, to give the impression of coloured lighting. This worked really well and the image looked way better as a result.
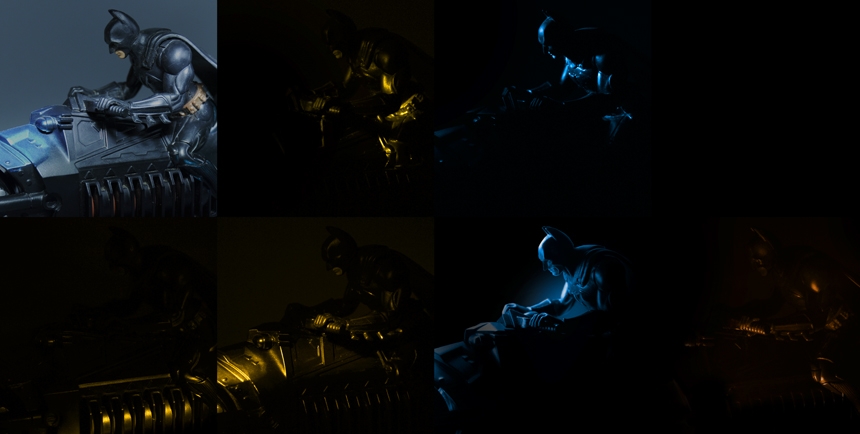
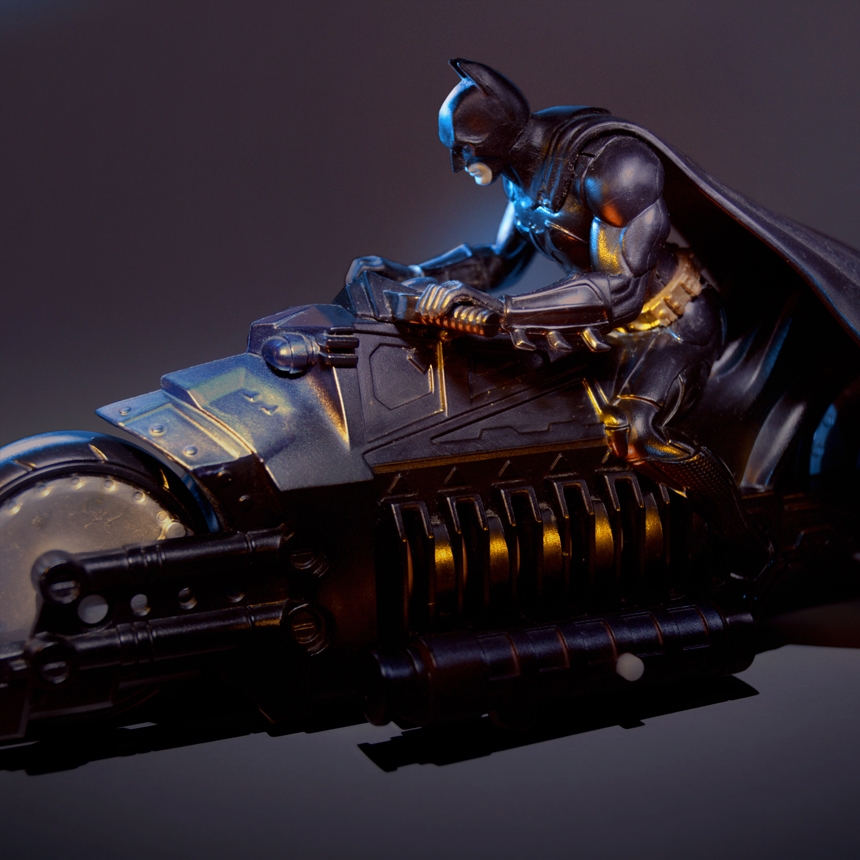
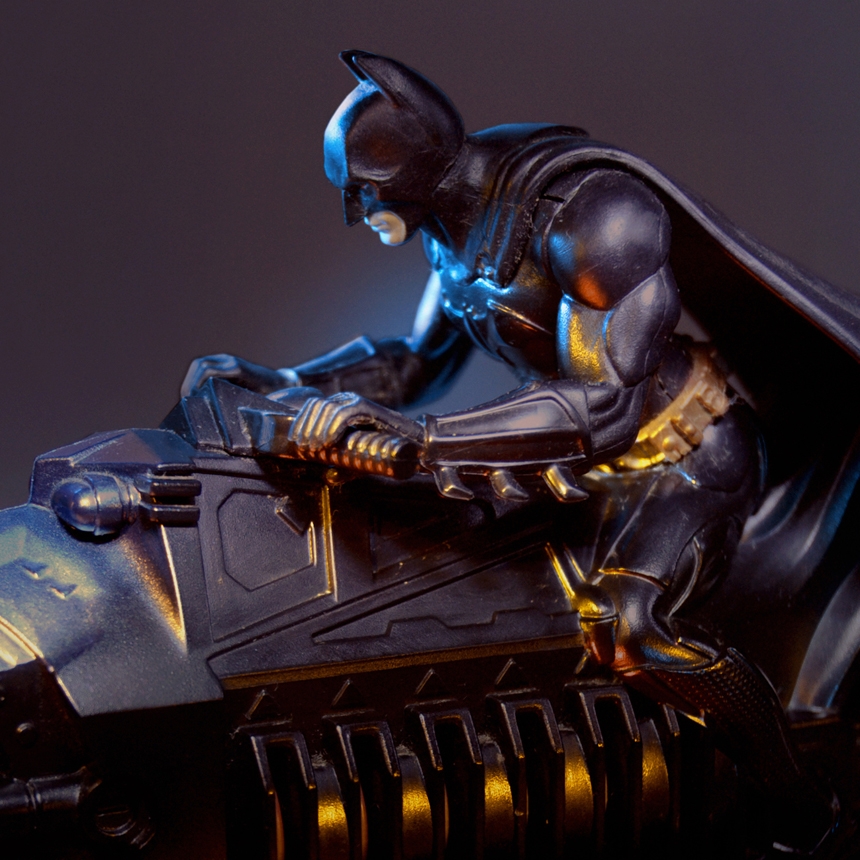
Well, that's an overview of the fun I had playing with the LED torch pen. I wasn't expecting it to be so much fun and for the end result to look so cool using just a cheap LED pen as the only light source. This won't be the last time I try this technique. It's actually amazing how similar the process is to using HDR Light Studio, where each light you make has its own layer and all of the lights are composited together for the final lighting. I'll be sharing this post with anyone picking up a pen from our booth in the future - so they can see how cool LED torch pens can be.
Get this pen this Friday (28th Feb 2020) from our booth at the Vertex 2020 event in London, UK. Find out how here.
