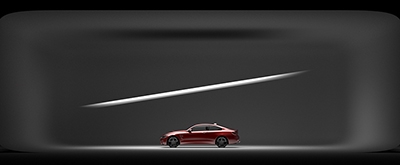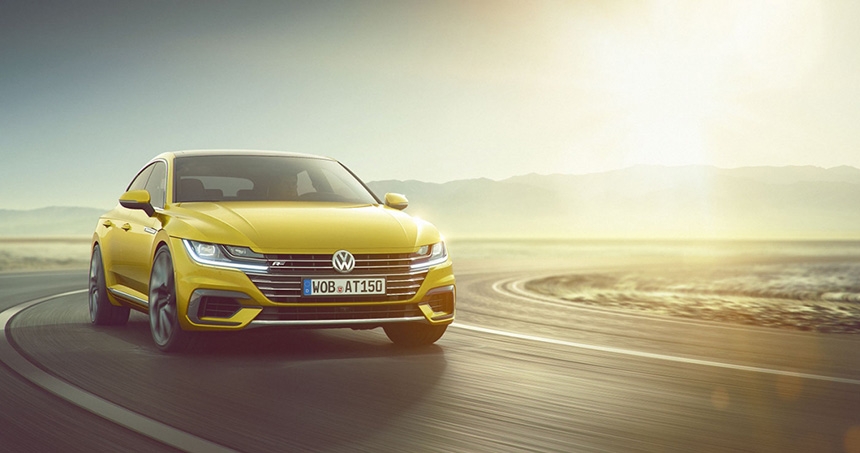
What is a Car Rendering?

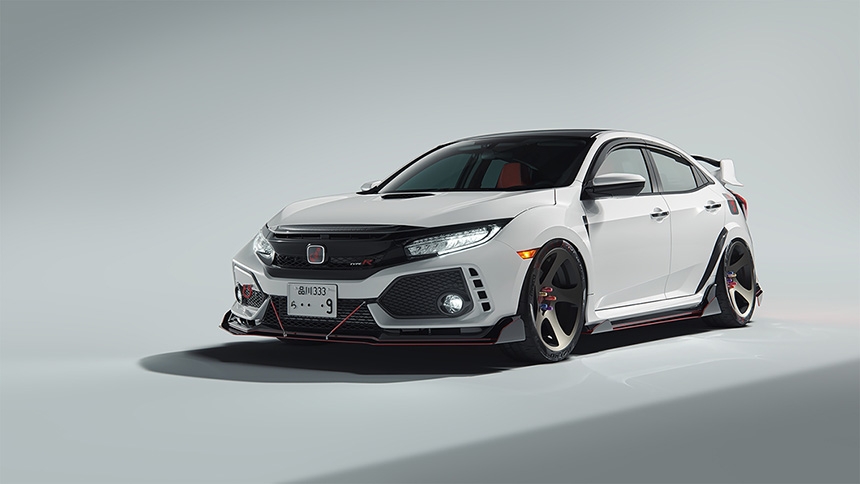
A car rendering is a computer generated image of a car. Another name for this is Automotive CGI (Computer Generated Image).
Rendering is the process of calculating the interactions of light in a virtual 3D scene using computer software/hardware. The final output of this process is an image, also referred to as a 'render' or 'rendering'. With the right materials and lighting, the final render will look like a photographic image of a real car.
To generate a vehicle render, there must be a 3D model of the car loaded into the 3D software. Car manufacturers will have a 3D model of the car that has been used for tooling the manufacture of the vehicle. These CAD models can be converted into a format that can be imported by 3D rendering software.

How do you make realistic car renders?
If you take a photograph of a car in the real world, it has to be in a location. This location could be outside on a road or inside a studio. When producing an automotive render, the car could be floating in the air with nothing else in the scene, as the virtual world doesn't need to follow the rules of the real world, but this would look very strange.
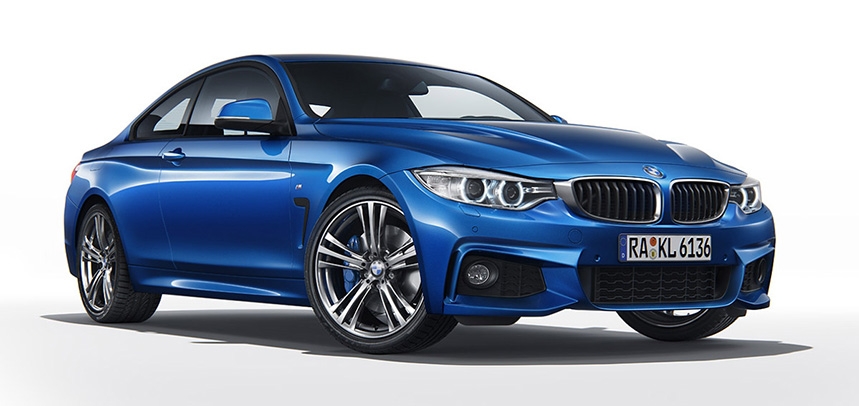
So when rendering a car, it needs to be placed in a location. This can be achieved in two ways in computer graphics. The first way is to model the location in the 3D software. Modeling a simple studio location is quite easy and will not take very long to produce, and this can be used for lots of different cars. But modeling a realistic outdoor environment takes a long time to make it realistic, this may take a long time to render too as it involves a lot more interactions of light between the car and location, and this location may only be used once as you don't want to use the same location for every visualization job.
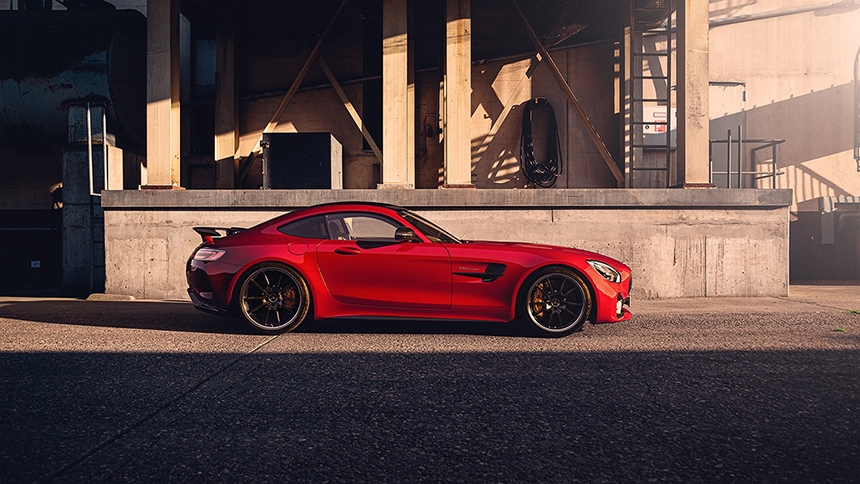
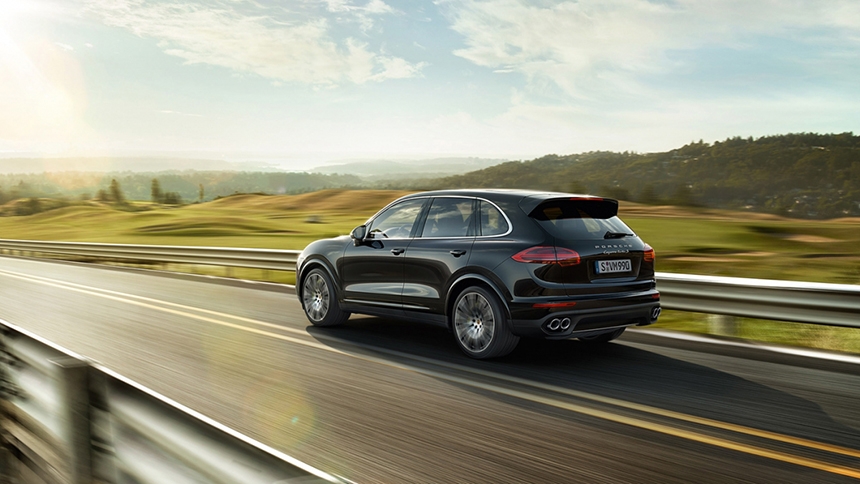
The second way to place a CGI car in a location is to use a photographic background image and an HDRI environment map photographed at the same real location. The rendered car is composited over the top of the background photograph with its perspective matching. The car gets its lighting and reflections from the HDRI environment photograph taken at the same location, this way the car looks like it's at the same location as the background photograph. As long as a good floor shadow is also generated and composited over the background - the car will look like it has been photographed at that location.
What are the benefits of Car Rendering?
Here are the key advantages of visualizing a vehicle using CGI:
Visualize a new automotive design
You can visualize a new automotive design in a location or studio for design review. Seeing the vehicle at photographic quality is a good way to judge the design with realistic interactions of light playing across the surfaces of the car.
Marketing photographs before cars exist
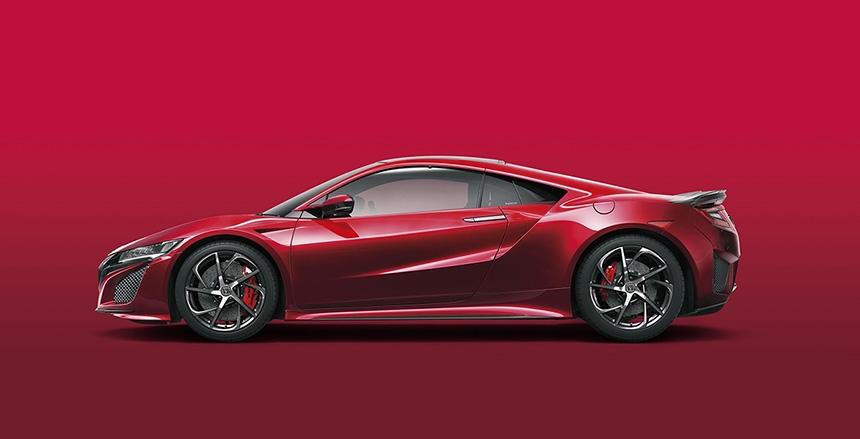
You can create marketing images for a new vehicle launch before the car has been manufactured. Allowing you to improve the speed of new product launch projects.
Render many variants
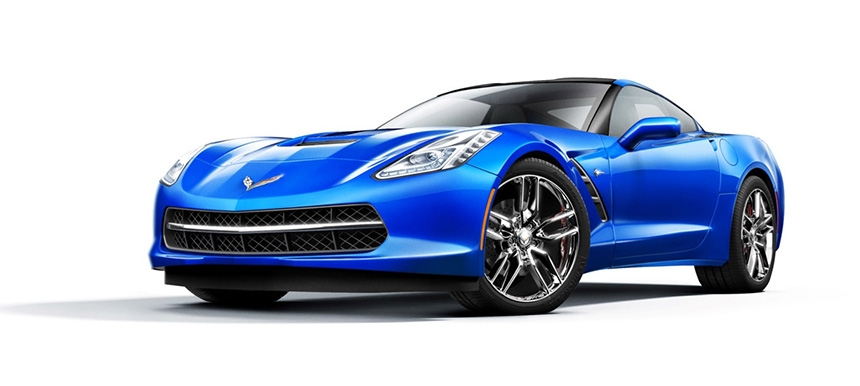
You can easily create marketing images of the car in different colors and with different trim levels with consistent positioning of the car in a consistent location.
Cost-effective
It is easier and cheaper to send a photographer to create a background photograph and HDRI map to be used in CGI than it is to take real cars and shoot them on location. Although CGI should not be thought of as a cheap alternative, as often it is not. There can be a lot of work in converting the CAD models into good-quality data.
Stock locations for CGI
There is a wide range of stock background photographs with accompanying HDRI maps available to buy. This allows you to search for a location with the perfect feel for the project and is available instantly to use. So no need to search for a real location yourself, and organize the services of a professional photographer to shoot the location. Which all takes time.
Control every detail
With CGI you have more creative control over the appearance of the vehicle and the details. You can produce multiple renders with different lighting and reflections, with the car perfectly aligned each time. These layers are then composited in photoshop so you can ensure all of the details of the vehicle are properly lit. These techniques are usually used in studio photography but can be used in CGI also.
Refresh to old 3D projects
In the future, you can open the rendering project file for the car, and easily make changes. CAD models for refreshed components of the car design can be imported and swapped, so that new marketing images can be produced of the refreshed design. Or the car can be visualized in a new location.
Reuse assets
Once the asset of the vehicle has been prepared for 3D rendering it can be used not just for still design presentation or marketing images. The 3D data can be used in other projects such as car configurators and animations. This will spread the cost of the data preparation across more projects and make it more cost-effective.
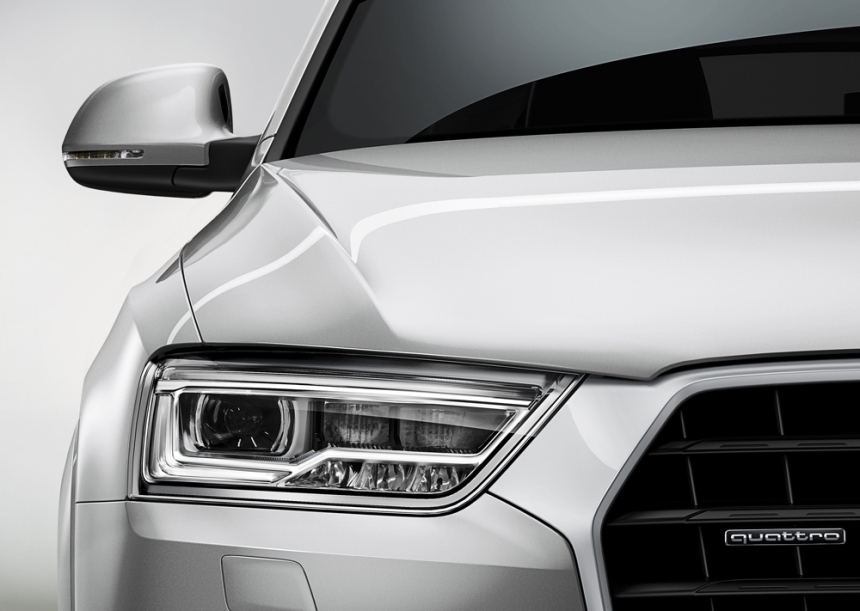
What software is used to render cars?
General 3D software and renderers
Virtually all modern general 3D animation software can load a model of a car and produce a photographic rendering. Today's leading 3D software applications are: 3ds Max, Blender, Cinema 4D, Maya, Houdini, and Modo.
The software that generates the final image is called a 'renderer'. These can be included with your 3D software or can be purchased to add to your 3D software. Each renderer has its advantages - some run on the CPU, the GPU, and some both.
The most popular renderers currently are: Octane, Redshift, Arnold, Corona, V-Ray, FStorm, and Cycles (Blender). Historically the most popular combination of 3D software and renderer for automotive CGI has been 3DS Max with V-Ray, but recently 3DS Max with Corona has also become a very popular combination. That said, every combination of software is valid and being used for automotive rendering today.
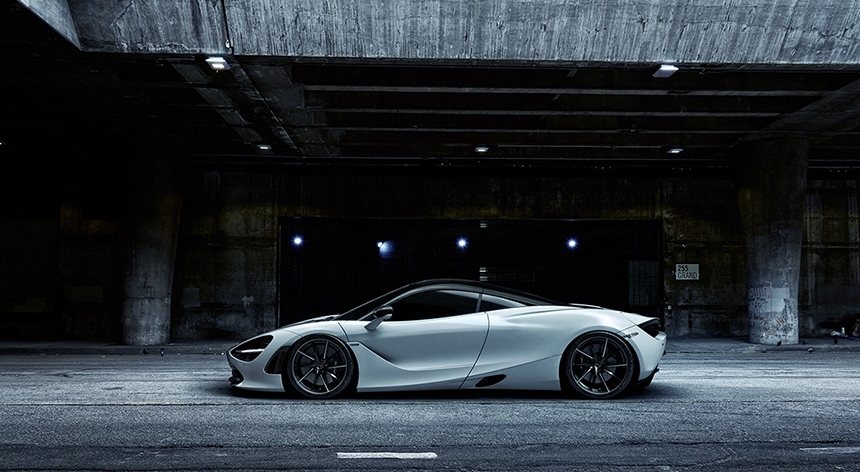
CAD software and renderers
CAD software is the place where you design products and cars - using NURBS and Solid Modelling methods. By adding a good renderer to your CAD software, you can visualize your design without needing to export it into another application. A great example of this is Rhino3D with the V-Ray renderer.
Dedicated Visualisation from CAD models
Dedicated visualization software has been developed for the sole purpose of visualizing imported 3D data. The market-leading application for this is KeyShot, a favorite with industrial designers, but it is also great for rendering cars. Another example is SOLIDWORKS Visualize. With both apps, you import your CAD data and the workflow is very simple by dragging and dropping materials and an environment into the scene.
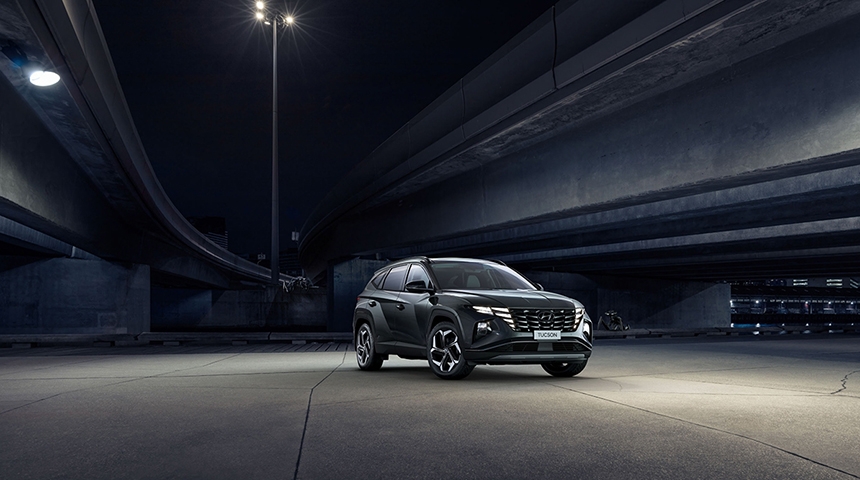
Specialized Automotive 3D Software
Finally, there are 3D apps developed specifically for the automotive industry - Autodesk VRED and 3DEXCITE DeltaGen. Visualization of high-end still images is just one part of what these tools have to offer. They are robust tools able to handle huge vehicle data sets. The developer understands the product development lifecycle for cars, and the packages offer functionality and modules that relate to this. They are expensive but provide unrivaled features for car manufacturers.
Lighting Software for Cars
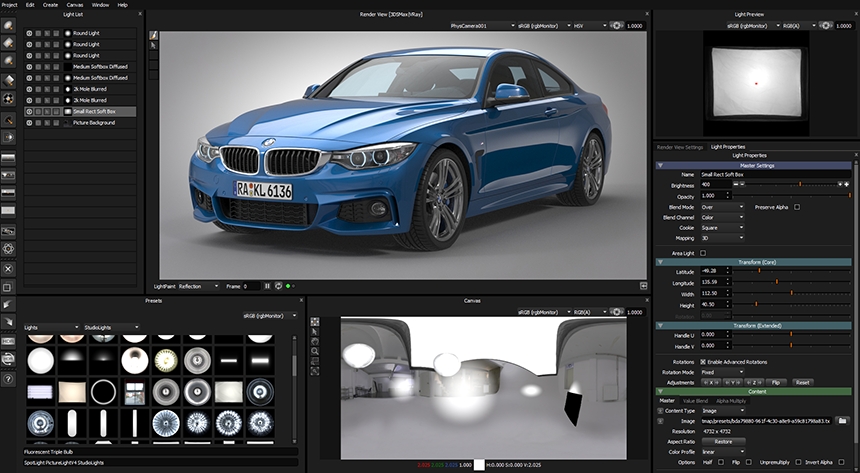
Whichever 3D software and renderer are being used, the car will need lighting. HDR Light Studio is an application that plugs into your 3D software and renderer and provides an easy and fast way to light a car to a very high standard. This can be studio lighting or making adjustments to the lighting and reflections coming from an HDRI map. HDR Light Studio connects with virtually all software combinations above and has been a leading tool in the automotive industry since 2009. All images on this page are lit with the help of HDR Light Studio.
Where next?
We teach you the light types used by automotive studio photographers in our article: Studio Lighting for Car Rendering
This entry was posted in Lighting Demos, Tutorials and Tips and tagged Industry: Automotive.


