Jagged Edges
Level: Intermediate
HDR Light Studio Version: Carbon Drop 1
Software used: HDR Light Studio (standalone)
Here are some tips to help you fix jagged edges on lights when using HDR Light Studio.
STEP 1 – Do a Production Render
When using HDR Light Studio connected live with your 3D software, a lower resolution and non-sub-sampled HDRI map is shared. The default resolution of this HDRI map is just 646 pixels wide. Even at this low resolution, this is more than enough to provide a really good impression of the lighting/reflections, it’s calculated fast and updates fast in your 3D software. (You can change the resolution of this live image (proxy) using Edit > Preferences, and changing the Proxy Map size to a higher resolution)
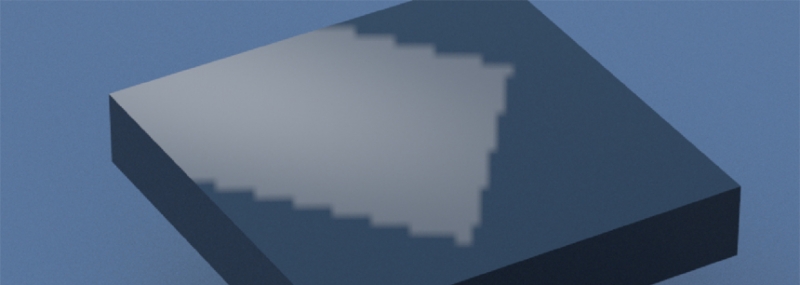
If there is a procedural light with a hard edge seen at this lower quality and lower resolution, this can result in jagged edges especially if the light is seen in a smooth flat reflection, or see in the background.
The first port of call to fix this issue is to press the HDR button on the tool bar – to generate a higher resolution, higher quality Production Render of the HDRI map. This will sub-sample the edges of the light, creating a softer edge appearance and removing the jagged edges.
If that doesn’t fix the issue, try increasing the HDRI map resolution. But if you get to 15k and the edge is still jagged, then let’s go to the next step.
STEP 2 – Flat Surfaces and Camera Settings
If you are still seeing jagged edges on the edge of the light, even after a high-resolution production render, then it may be impossible to solve the issue and maintain a crisp non jagged hard edge. Sorry, but here’s why.
Jagged light edges will be seen in flat surfaces where the cameras ‘field of view’ is very narrow.
Any flat surface will reflect a very small portion of the HDRI map. In the image below, you can see a small rectangular light reflecting in the middle of the flat surface. You can see jagged edges, but if you rendered the HDRI map to a higher resolution, the edge would look acceptable.
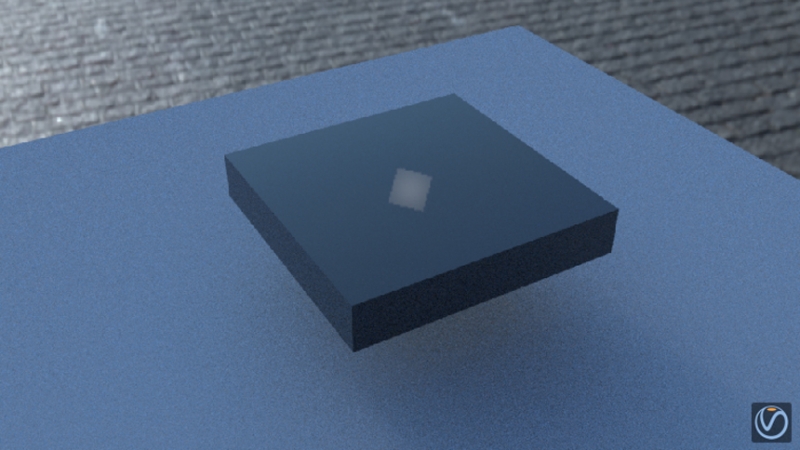
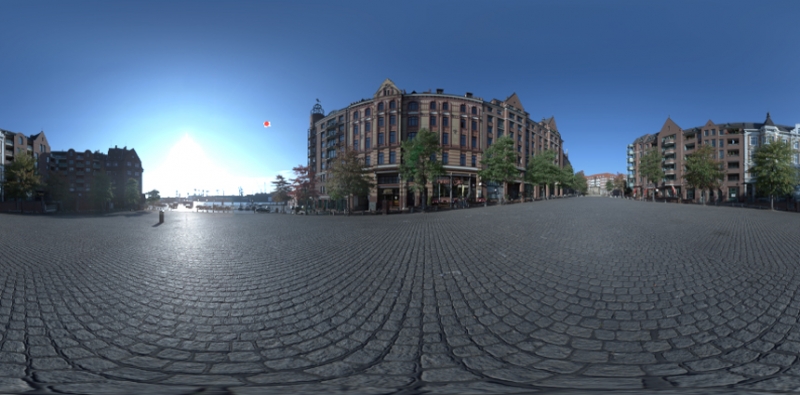
To put this in context, look how small the light actually is on the HDRI map below, that flat reflection is looking at only a tiny part of the whole HDRI map (the light is under the orange dot in the sky, only just bigger than the orange dot, the size of the light is just 1×1 in HDR Light Studio’s settings).
However, if we change only the cameras field of view (increase focal length), reducing the perspective, then the flat surface reflects an even smaller region of the HDRI map. In the image below, the light is exactly the same size. But the flatter, almost isometric camera view has a zoom effect on the reflection. The jaggies look really bad now.
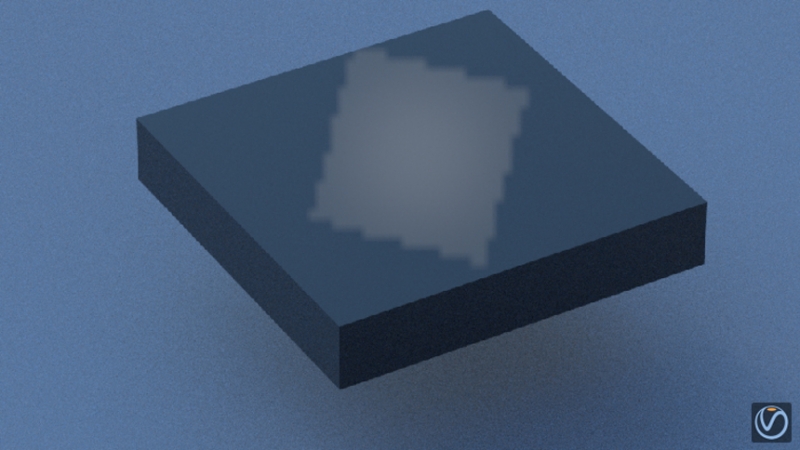
Even a 30k HDRI map would not remove the jagged edges from this combination of flat surface and narrow field of view on the camera. You would need an image more like 200,000 pixels wide to make that tiny region on the HDRI map high enough quality. So, the advice in this case would be to use one of the image-based Preset lights, that has a little softness to its edge. None of the preset image-based lights will have a hard edge. This softness in the edge will help to reduce the jagged effect.
Here is the same view, using ‘Square Small Rad’ preset light. The HDRI map is only a proxy at 3k, but you can see it looks far less jagged than the standard Square procedural light in the image above.
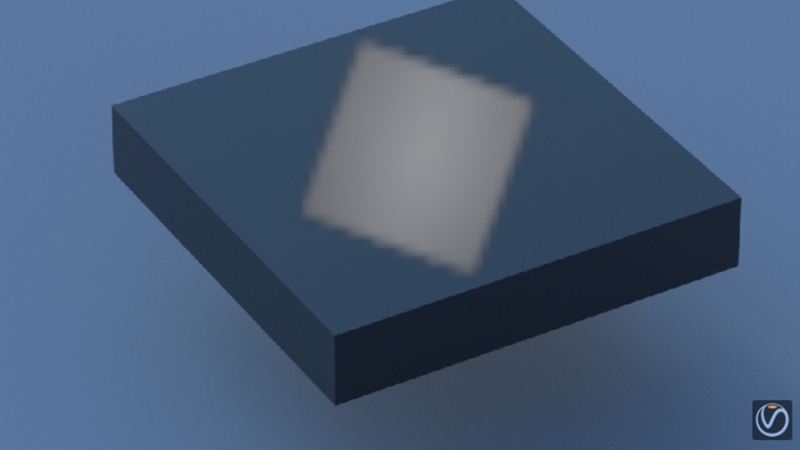
If we now render this HDRI map at 15k, the result is perfectly acceptable as seen in the image below.
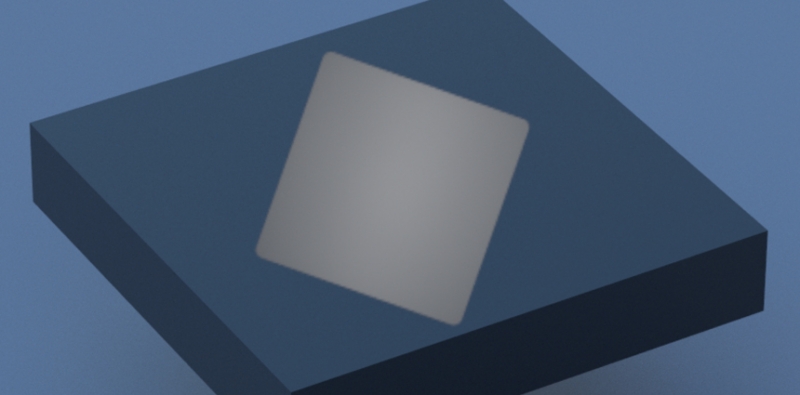
The softer the edge of the light you use, the less lagged artefacts you will see. So, we hope this helps the next time you experience an unwanted jagged edge seen in the reflection of a light in your 3D model. Of course, changing the perspective on the camera would also help too.
This entry was posted in Tips.

