How to set up your HDRI scene

So you have an studio HDRI map to light your scene, what next?
Here we show a variety of HDRI (high dynamic range image) scene set-ups that you can try in any 3D software. We focus on product, jewelry, and automotive style studio shots and ways to set up these HDRI scenes.
HDRI Scene Setup 1: Floating Objects
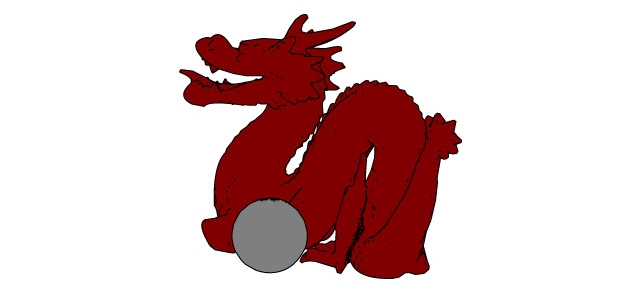
By far the simplest setup when using HDRI lighting is a scene that contains only the subject (the object/s you want to render). This extremely simple scene setup can produce high-quality results. Here is a simple HDRI map we are using to light the scene.
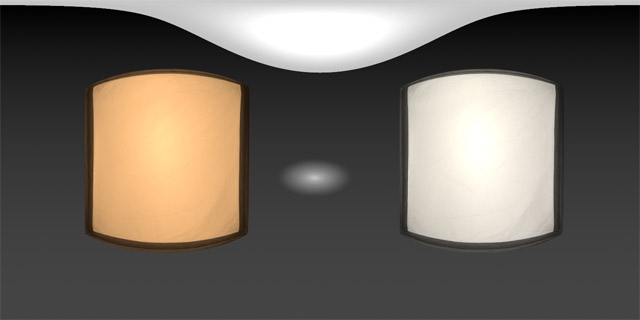
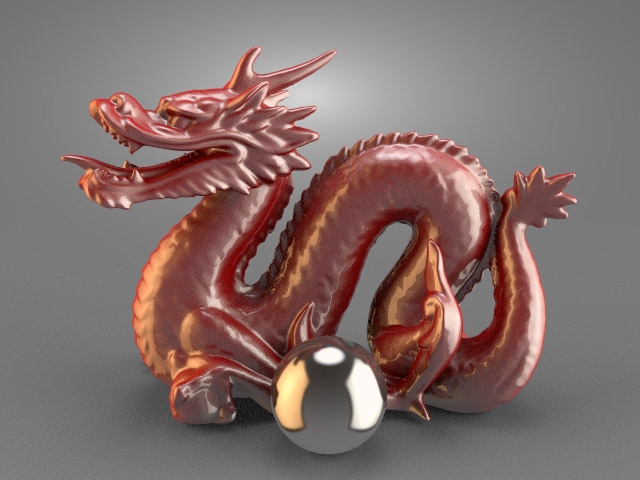
And here is the resulting rendering. The scene contains only the objects being rendered and a single environment light with the HDRI map applied.
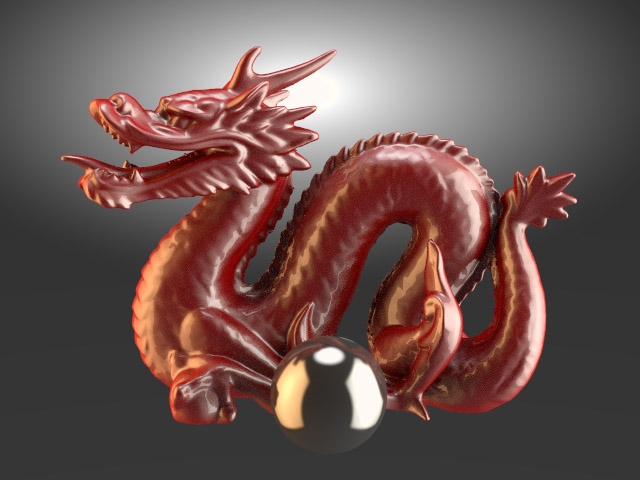
For such a simple scene set-up – with no other geometry apart from the dragon and ball, it’s a very polished image. The only problem is that the object is floating in the air.
A photographer would jump with joy at the idea of being able to suspend his subjects in mid-air like this. Why? Well if you’re taking a photograph of a product like an electric shaver or hairdryer for a catalog, then you really don’t need to it sitting on a base or being visibly supported – that’s a distraction.
Whatever the subject is sitting on or is being supported by will become part of the shot and more importantly will be seen in the reflections in the subject and will also limit where lighting/reflections can be placed.
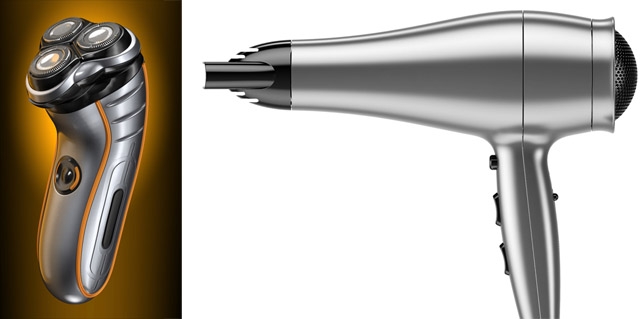
But here in our 3D world, the subject can float in the scene unsupported. The lighting can be placed anywhere on the HDRI map to reflect from any direction – so you have total 360-degree control of where reflections/highlights are placed. In the above examples of a shaver and hairdryer – this technique was used.
Adding a background to the HDRI scene
You can also see in the render above how a light source has been placed behind the shaver on the HDRI map to create a nice glowing background effect. There was no need to model a background or create another image as a background image – it all comes from the single HDRI map.
When you use this technique it always looks realistic because the background is also fully interacting with the subject in reflections and refraction. You can see the orange glow effect reflected in some parts of the shaver model.
You can take this background effect to an extreme, see here this example.
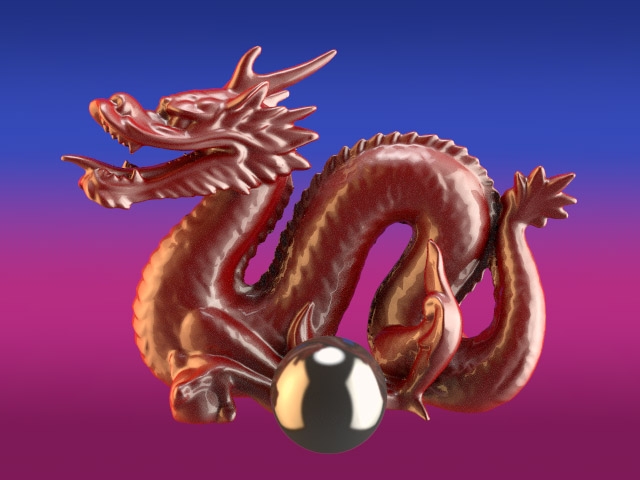
Here we placed a light behind the dragon, using HDR Light Studio, on the HDRI map with a colorful graduation. Here’s what the map looks like.
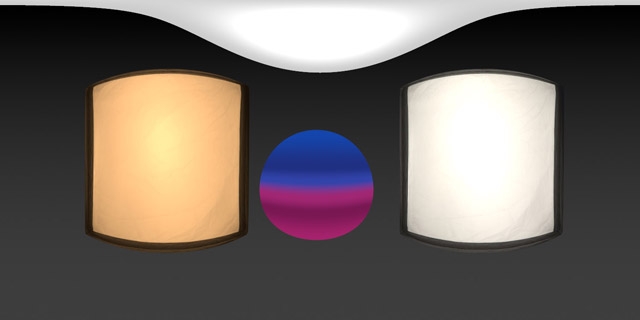
It’s pretty cool to be able to create a background effect like that via the HDRI map. It keeps things simple, and simple scenes render faster!
Here are some more examples of floating objects lit with HDRI maps:

Floating product shots for white backgrounds
If you were making an image for a catalog and it was going to be used as a cut-out to go onto a white page or white web page, then it’s very important to make sure the object has been shot with white content behind it.
If you were to cut out an object that has been photographed with a dark background and put that image onto a white page, it will look odd because the perimeter of the object will be dark reflecting the dark background at a glancing angle.

If this had been lit with a white background on the HDRI map, the edges would not look so harsh. We fixed this by placing a large white light behind the shot, so this white background reflects in all the glancing edges of the subject.

This dragon looks at home on this white background.
HDRI Scene Setup 2: On a floor
Solid Floor
But what if we don’t want a shot with the subject floating in the air? Say we have a product that would sit on a desktop for example, and we want it to look grounded. The next step is to add a floor to your scene.
We can easily model a plane and add this into the scene and assign a white shader.
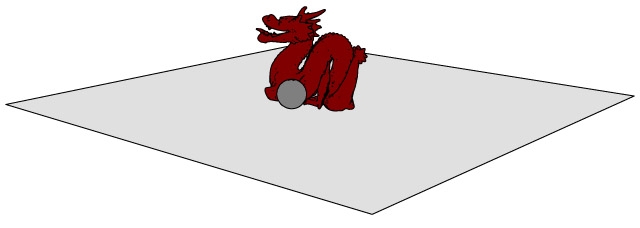
So what does this look like when lit with our HDRI map.
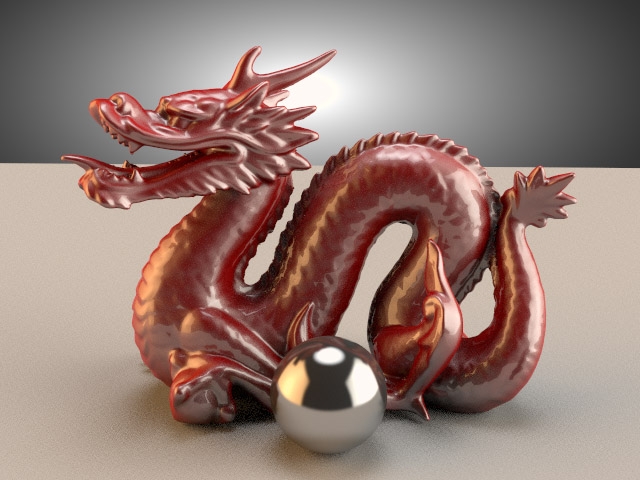
The first thing we see is that the floor is reacting to the color of the lighting – which is very warm from the left. This has made the entire white floor a cream color. Additionally, we can see that the floor is now playing a key part in the shot – taking up most of the background, stopping reflections from the HDRI map from reaching the surfaces that point downwards on the 3D model.
We have lost a lot of control of the lighting for the subject by introducing a large floor. The shot is now lit by the top half of the HDRI map only. The lower hemisphere is obscured. This looks very realistic and the addition of the floor shadow is welcome to ’ground’ the subject.
Shadow Catcher Floor
The good news is we can have the best of both worlds – the original control of 360-degree lighting and a nice floor shadow to ground the object. This is done by assigning a shadow catcher material to the floor geometry and ensuring it is set with shadow casting off, so light can reach the dragon from all directions.
Most 3D rendering software has an equivalent method of achieving a shadow catcher material. The result is that only shadows are shown on the floor material. The HDRI map can be seen fully by the model and we gain back our 360 control over lighting and reflections.
This is what the same scene looks like with a shadow catcher applied to the floor.
You can see the nice shadows added over the visible HDRI in the background.
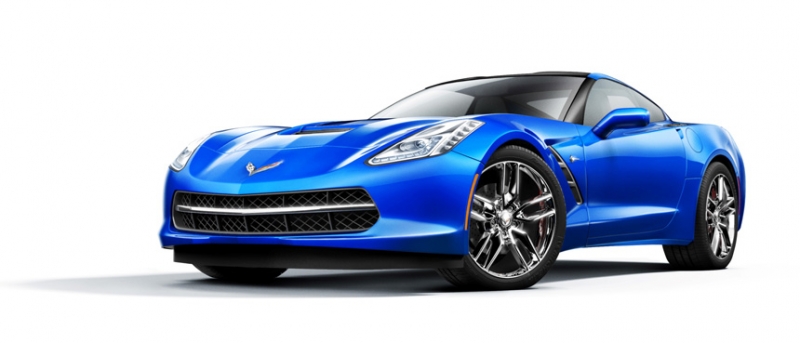
This type of scene setup works very well for cars. Cars need to look connected to a floor in order to look good. So car renders need a good floor shadow.
Glass Floor
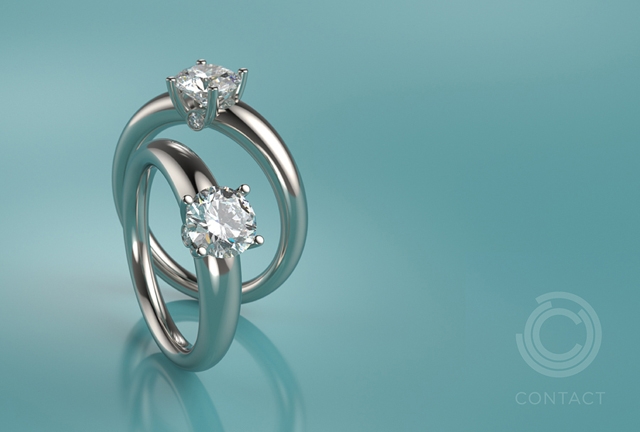
Another technique is to assign a glass shader to the floor rather than a shadow catcher. This creates reflections in the floor, but still allows light and reflections from the entire HDRI to reach the subject. This technique is commonly used by real photographers for studio shots of jewelry.
HDRI Scene Setup 3: A plinth
Another HDRI scene setup is to place your subject on a plinth, such as a cylinder. It provides a very realistic appearance and allows more of the HDRI map to be seen by the subject. This can be a very visually pleasing method of presenting a shot.
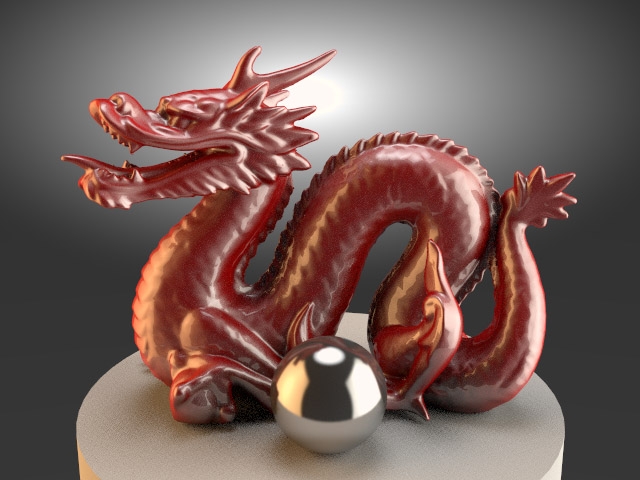
The advantage of a plinth is that the render is very realistic and the object is grounded. The chrome ball here looks excellent with good-looking reflections of the plinth itself. Presenting a product such as a watch or electronic device can look really nice on a plinth. It works well for pack shots too, here is a nice example.
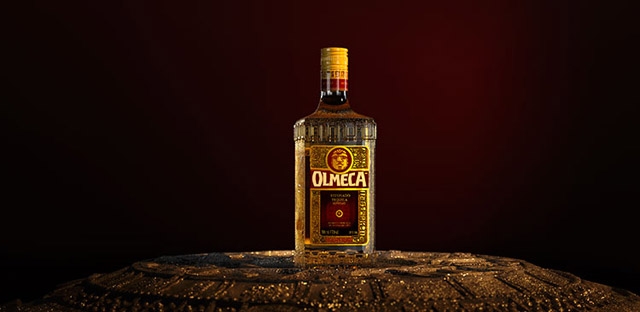
HDRI Scene Setup 4: A scoop
The next approach is to model a scoop as the staging for the subject. This kind of 3D background is used by real studio photographers. It's often made using a roll of paper draped over a table.
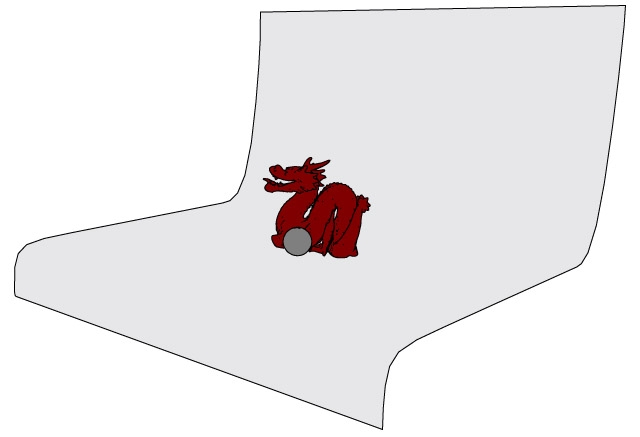
The scoop fills the background of the shot and provides a grounding for the subject.
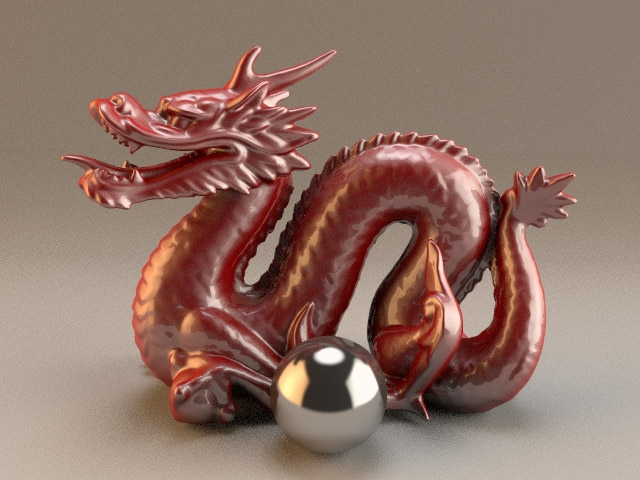
The scoop is producing a nice-looking background and the overall effect is very realistic because everything you see is lit by the HDRI map - so the illumination color is consistent across the entire image, background, and shadows.
A disadvantage of this approach is we reduce the amount of control we have over the lighting from behind and underneath the shot when using an HDRI.
Please note: If you used area lighting in 3D you could place the lights anywhere in the scene and gain back more control, but this article is about HDRI scene setups.
To illustrate this let’s use a better example, a car shot with a problem.
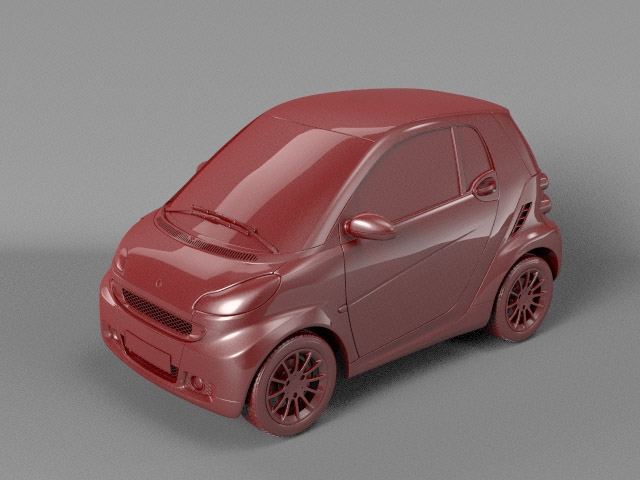
Here is a car lit in an HDRI scene and placed onto a scoop. It looks good because we get lovely interaction of the lighting and shadows with the scoop. It sits well on the floor as a result and is very realistic. However, because the HDRI surrounds the scene, the scoop has restricted where reflections and lighting can be placed on the car from the HDRI map. But there is a cheat to overcome this.
We can set the scoop to be invisible in reflections and turn off shadow casting on its geometry. This way we get all the same lovely shadows cast onto the scoop. But the car itself will not see the scoop in reflections, and will instead reflect the HDRI environment instead. This gives us back total 360 control over the reflections in all areas of the car using an HDRI.
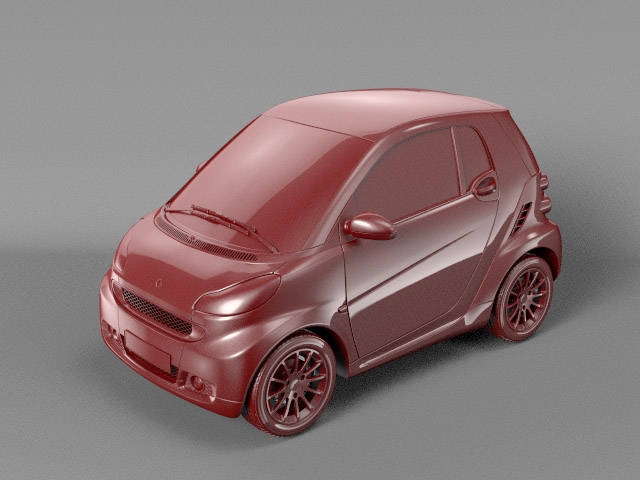
So, here’s the new render we made where the scoop is hidden from reflections. Wow, look what a difference it has made here. The softbox over the top of the car is now working well, plus the dynamic graduation on the side of the car has not been cut short by the scoop.
We have been able to place reflections exactly where we need them. The car looks more dynamic and better presented as a result. The scoop is not interfering with our reflections. This is a cheat, but the overall effect is very pleasing and realistic.
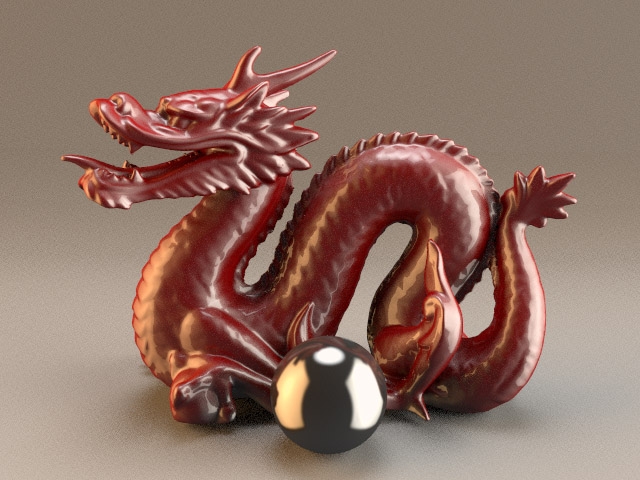
This approach does not suit all scenes. For example, in the dragon scene, if we hide the scoop from reflections, then the chrome ball looks shiny black and no longer chrome.
HDRI Scene Setup 5: Scoop is part of the HDR map
But if you are looking for a scoop effect in a shot like this one, there is another way to achieve this. HDR Light Studio can load a background EXR file of a scoop. So, the scoop can be within the HDRI map itself, and not modeled. This is a nice cheat.

In this shot the scoop is within the HDRI map, loaded as a background base to the HDRI design. The scene renders much faster than a modeled scoop does. This works really well with a shadow catcher floor.
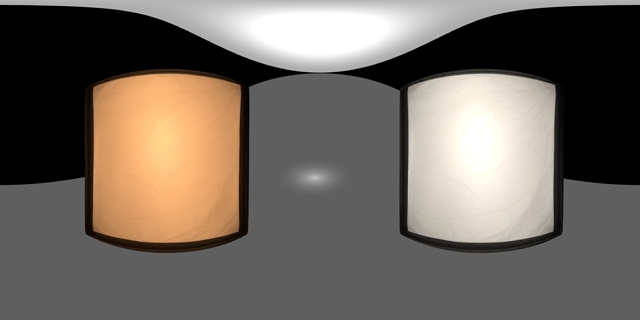
Above is the base EXR image containing the spherical view of a scoop. This was loaded into HDR Light Studio and additional lighting added to light the map.
This entry was posted in Tips.


