Learn about Car Studio Lighting for CGI

Car Photography Studio Lighting - it's all about reflections
Cars are very shiny, combining a variety of reflective materials - chrome, metallic car paints, shiny plastics, glass etc. In fact, the only non-glossy part of a car is usually the tires. With car photos – you're seeing the car's surroundings reflected in its surfaces. This is why it's so important to get the car into a studio if you want to create a nice clean, basic studio lighting image. Basic studio lighting is perfect when you want to clearly show the design of the car without the distracting reflections.
When shooting cars, each studio light is carefully added to showcase both the form and materials of the car. Due to the Fresnel properties of reflective surfaces, panels on the car that are facing away from you are far more reflective than those facing you. This can mean that a light seen at a glancing angle has a more powerful, mirror like reflection. The challenge for the photographer is to balance the brightness of the bounced light seen in reflections.
Basic Studio Lighting Types for Cars
Let's take a look at some of the basic studio light types used in a professional car photoshoot.
Direct Lighting
Spot Lights
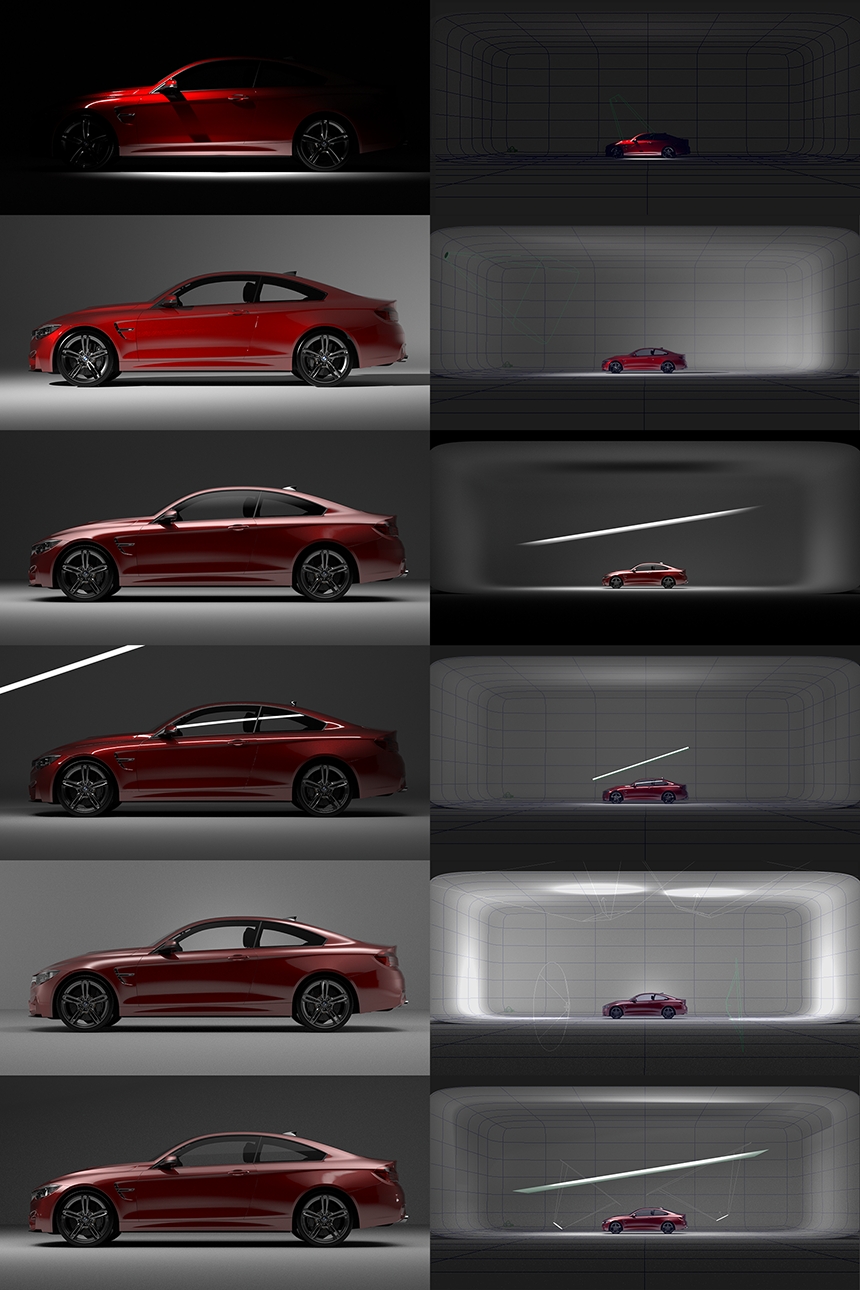
When we talk about direct lighting, we mean light sources that are facing and projecting their illumination towards the car. When the light source is facing the car, it will also be visible in the reflections in the car. A spot light will create a harsh and small highlight (reflection).
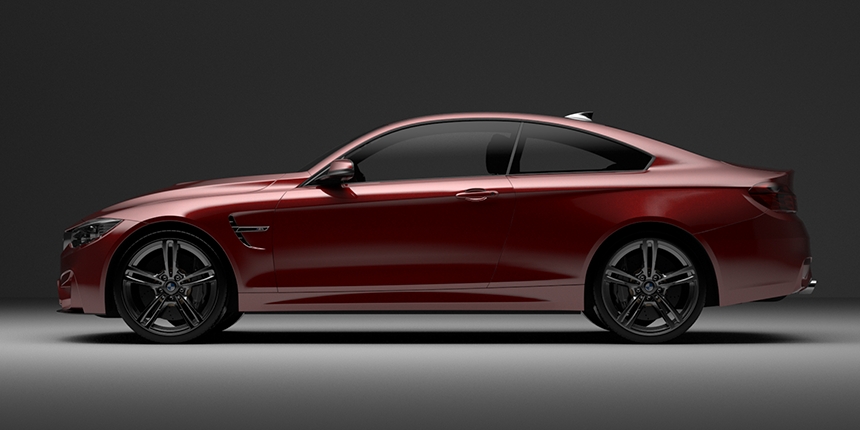
Spot lights can be placed close to the car to create focused lighting in one area. This can produce a lovely mysterious image that reveals some key details of the car and hides the rest. By placing a spot light close, it also means less of the car's surfaces can see the reflection of the light source. So you can get more control over where the highlights are seen.
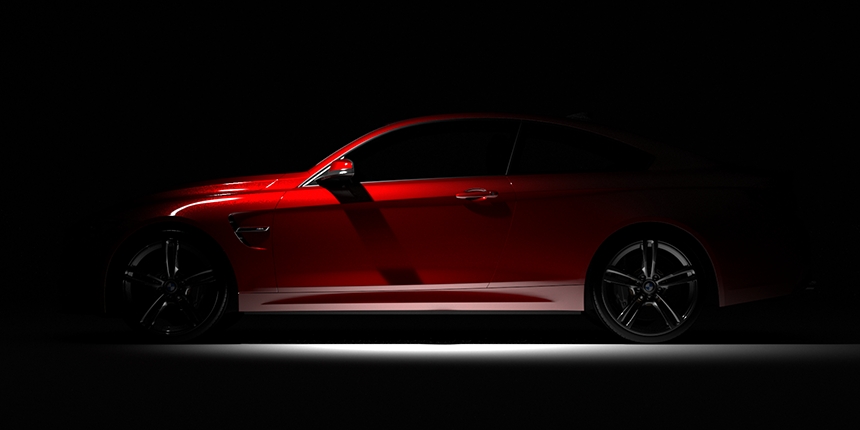
If you move the spot light far away from the car, this produces a very directional light over the whole car with hard shadows - similar to lighting from the sun. This is an excellent way to create a hard floor shadow that will plant the vehicle visually on the ground. Photographers will often take a shot with a light setup like this to obtain a layer to use for the floor shadow when compositing their final shot together.
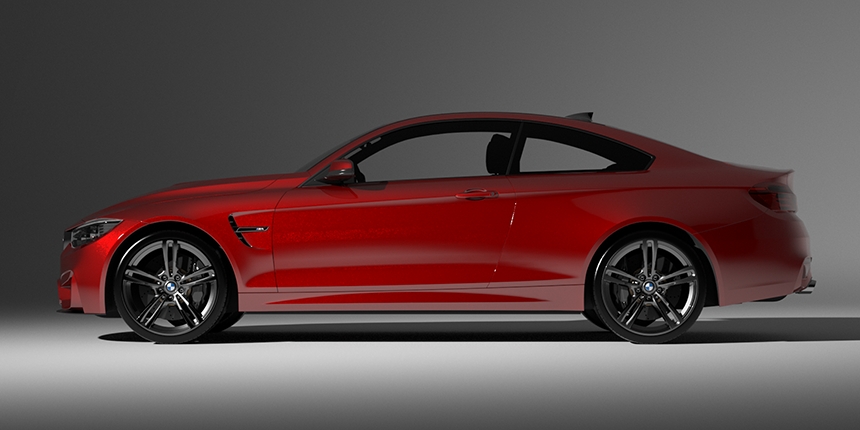
Because spot lights produce small bright highlights in the car's surfaces, they are an excellent light source to bring alive metallic car paint around those highlights - as the metal flakes pointing in different directions catch and spread the highlight.

Overhead Softbox
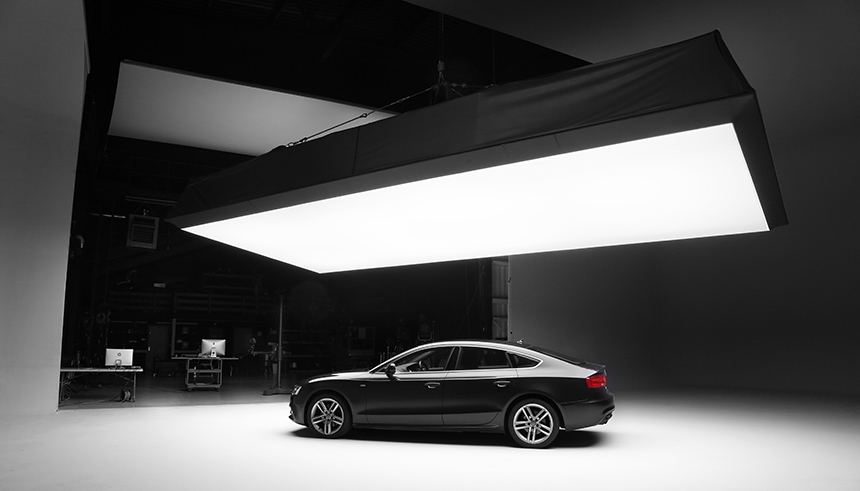
It is common to place a huge light over the top of the car for studio shots. There are several approaches to creating this effect, and sometimes this is done with a huge softbox. The softbox will create a very diffused soft light and the large white surface will produce a lovely overhead reflection. These ceiling rigs are tilted and the position adjusted until it reflects perfectly in the cars styling lines.
Fluorescent Tubes
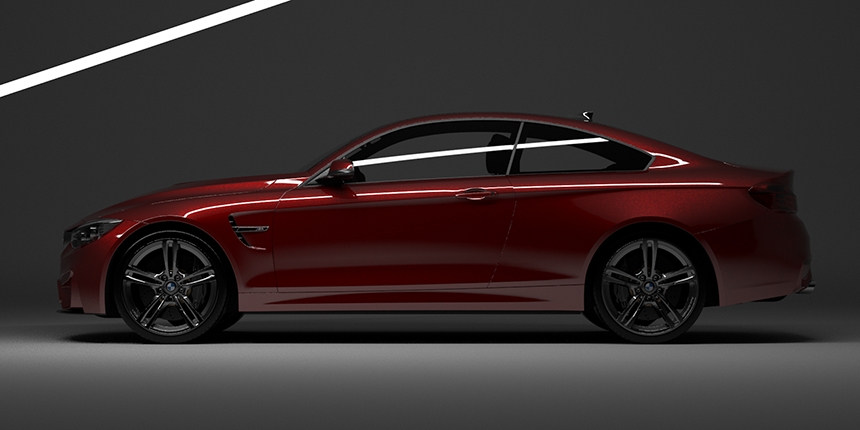
Another type of lighting in the arsenal are long fluorescent tube lights, such as those made by Kino Flo. They can produce lovely lighting effects producing a hard reflection line that can also bring metallic paints alive. They produce a softer shadow as a result of their length. This type of lighting either works very well with the form of your car, or not work great at all. They are worth experimenting with to see if you can find the right position for the light. In the example below, the light is creating an unpleasant reflection in the windows, but works quite well along the body line of the car.
Indirect Lighting
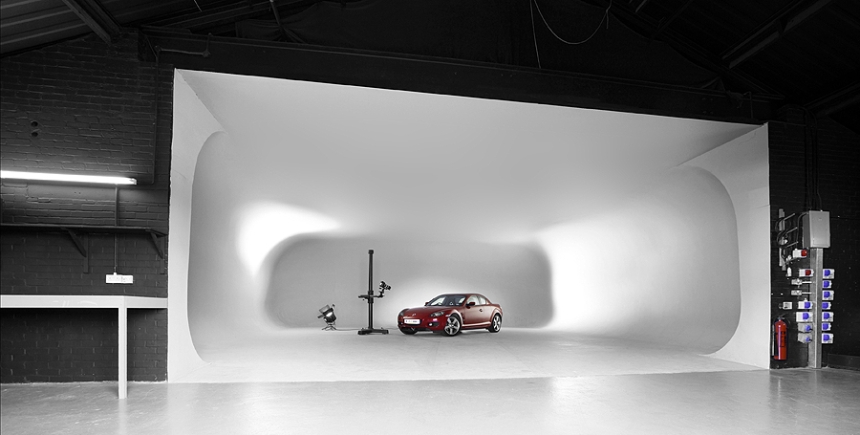
Indirect lighting is a key way to light automotive images. Because a major component of the lighting is coming from the reflections, pointing lights at the white walls of the cove or moveable panels, allows the photographer to control and shape the reflected light. This indirect lighting has the advantage of the harsh light source not being seen by the cars surfaces.
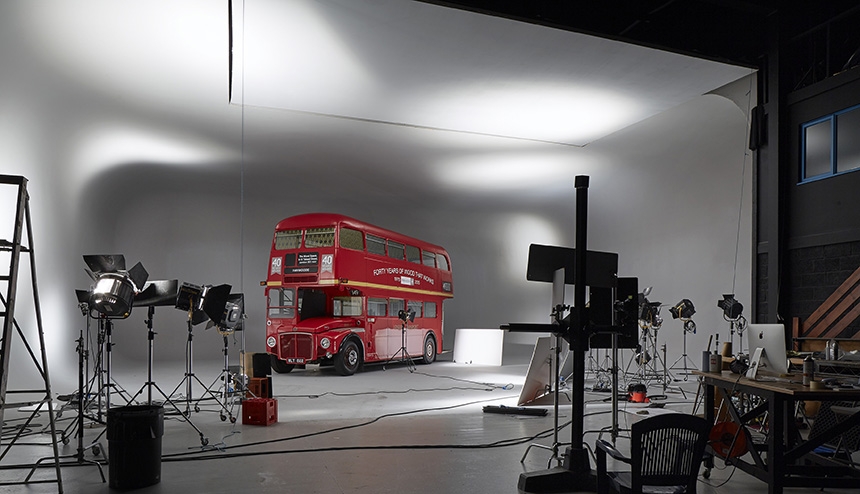
In the example below - the lighting is coming all from indirect light sources pointing at the cove walls.
Overhead Panel
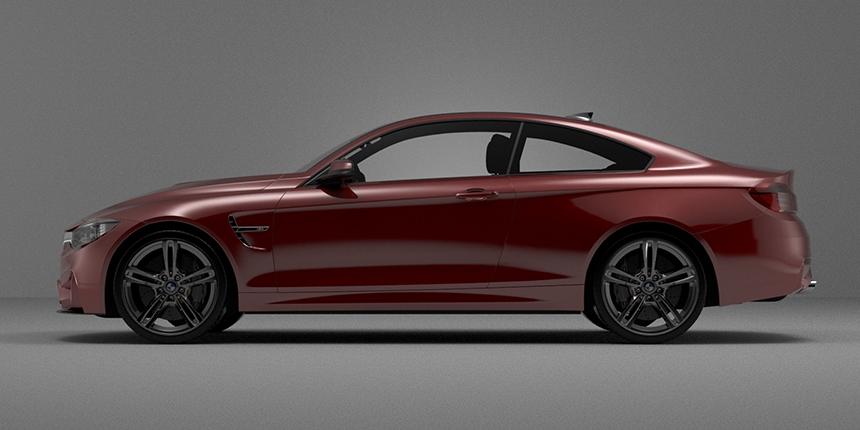
Instead of using a huge, and possibly very expensive overhead softbox - a large white panel can be mounted above the car in the same way. However, spot lights can be pointed at this surface to illuminate it, and give the same soft lighting effect and create those lovely reflections. The advantage of this panel is that you can point as many spot lights as you want at its surface, this additive lighting with multiple hot spots in any position on the panel that will add extra life to the reflections in the car body.
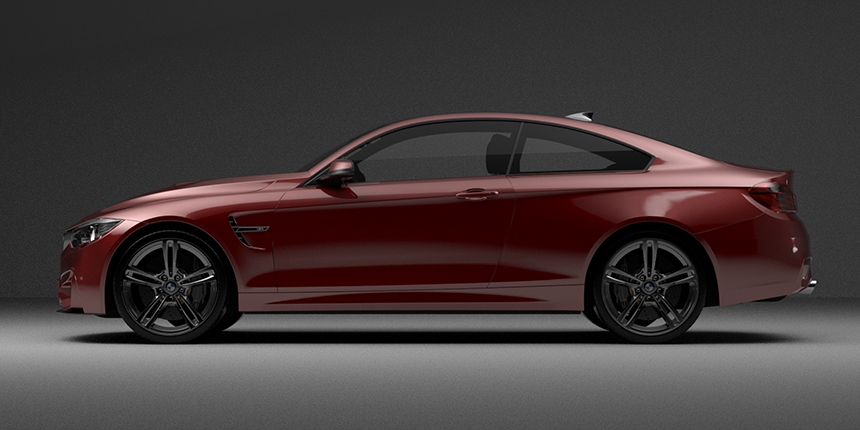
That concludes the overview of the range of studio light types that can be used to light a car using direct and indirect lighting. There are even more tools of the trade available such as reflectors and black flags to block distracting reflections. But for this article, you have a good grasp of the lighting methods used by a photographer in the studio. These are all combined in a unique way to bring the car to life for advertising and marketing images.
Translating this into Automotive CGI Studio Lighting
The lighting types and methods available to the photographer are also available in 3D rendering software to the automotive CGI artist. The gold standard by which the computer generated images will be judged, and compared, are real world photographs - our eyes are so used to looking at them. Inexperienced automotive CGI artists need to study the techniques used on a real studio shoot and aim to faithfully replicate them and recreate realism in their lighting setup.
3D rendering software provides much more control over lighting than photography - as there are many cheats available. For example, the light source can be hidden from the reflections in the car whilst maintaining the lighting effect on the rest of the scene. This provides a great way to remove messy reflections whilst creating indirect lighting. Another benefit is that lights can be moved anywhere in the scene without any kind of stand/support to hold them. This allows far more creative freedom in the lighting process. But the 3D artist should be careful not over complicate the lighting and create an unrealistic looking image without some kind of foundation in reality.
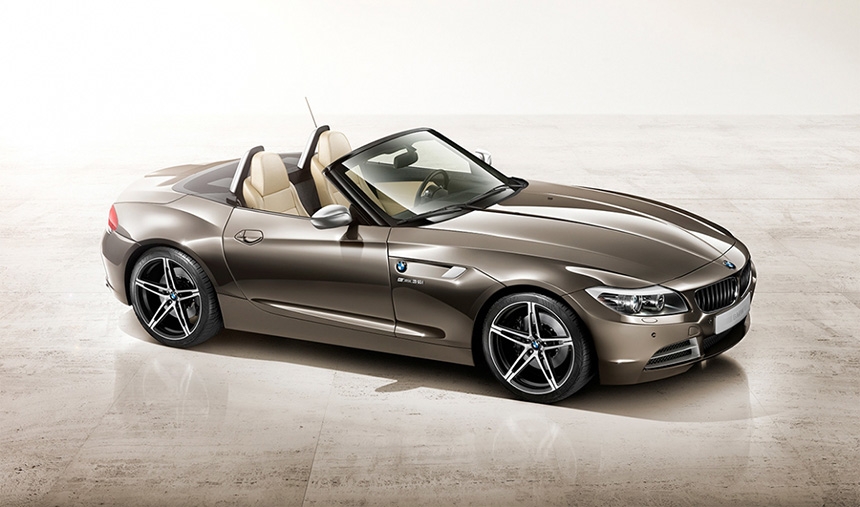
Modern 3D rendering software calculates a live interactive image, that responds to the changes in lighting changes quickly. So as light positions and brightness's are adjusted, the effect can be seen virtually in real-time. The live visualization makes it easy to explore the lighting and try out different options.
This entry was posted in Industries, Lighting Demos, Tutorials and Tips and tagged Industry: Automotive.


